 United Kingdom
 France
 Italy
Italy
 Germany
 Sweden
 Spain
Spain
 Canada
 India
India


Le guarnizioni meccaniche impediscono la fuoriuscita di liquido creando un film idrodinamico tra due superfici ad alta finitura.
Guarnizione meccanica
Che cos’è una tenuta meccanica?
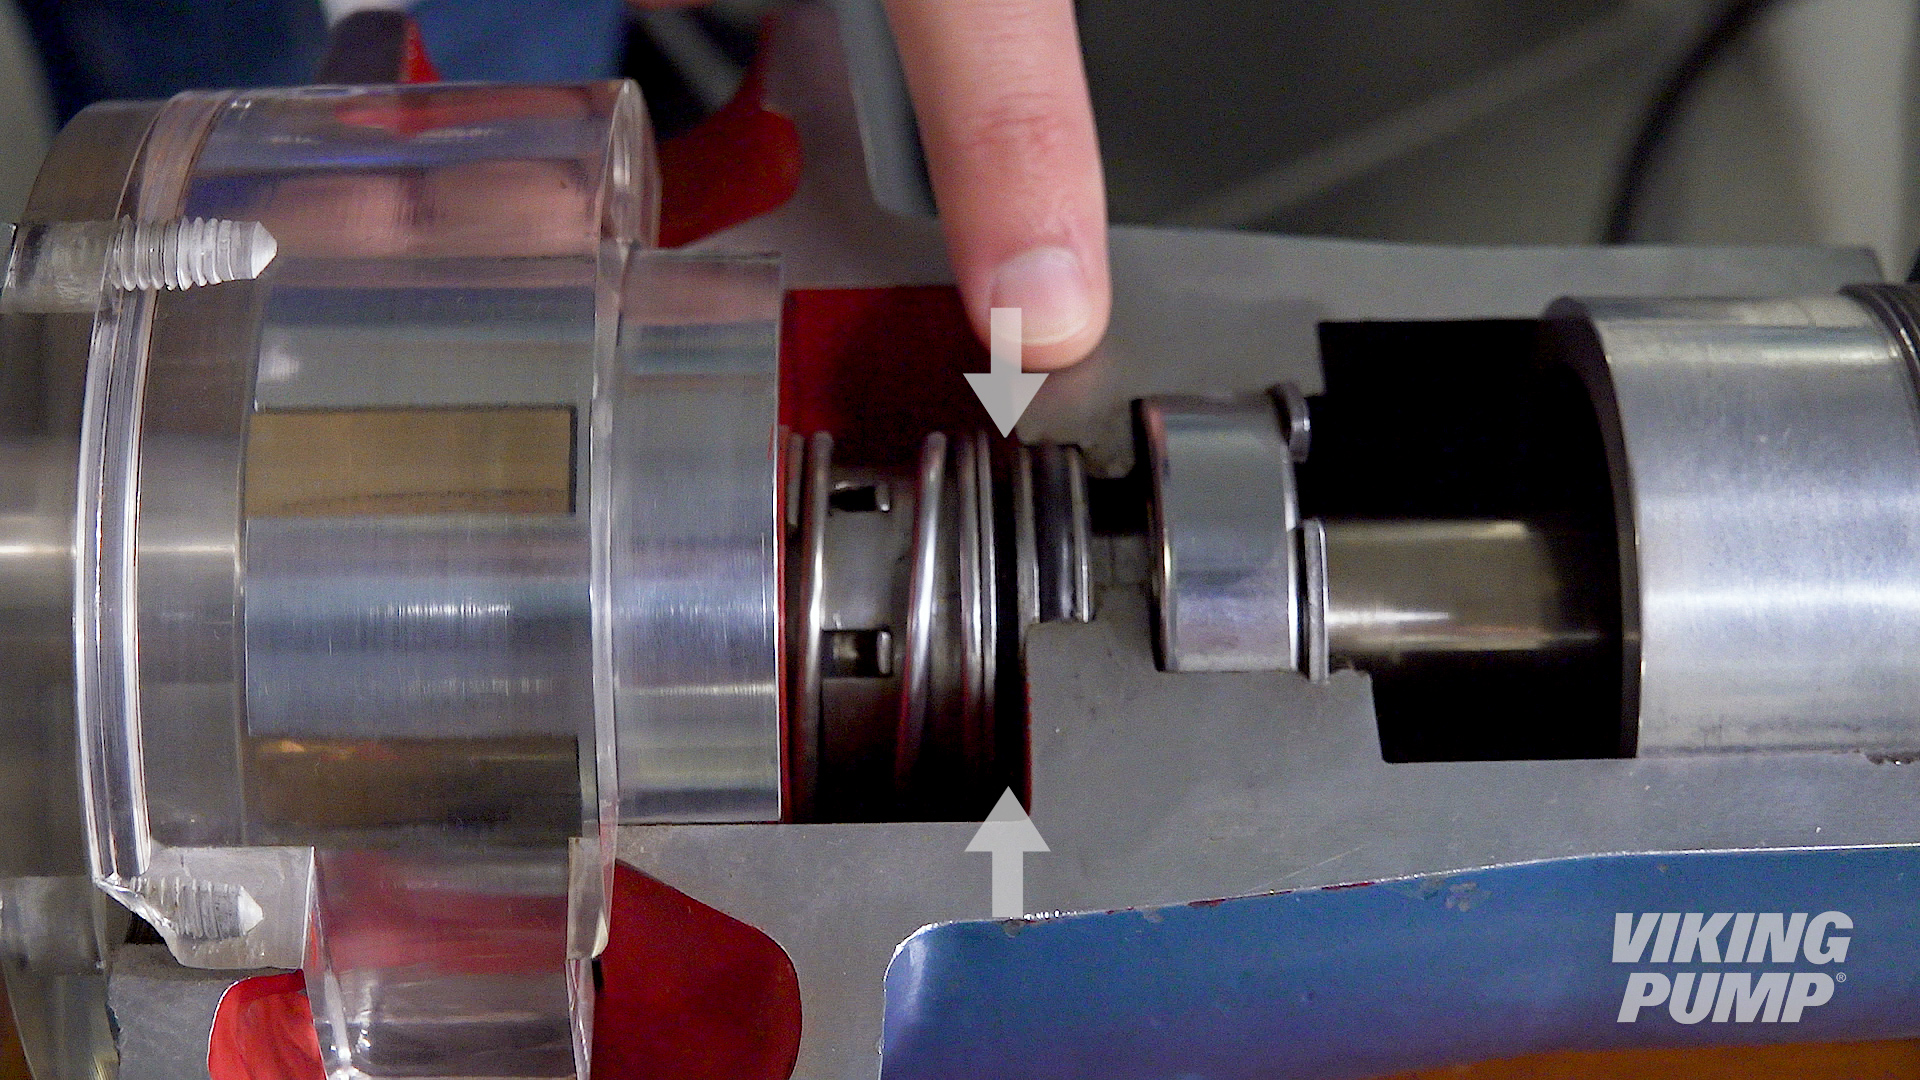
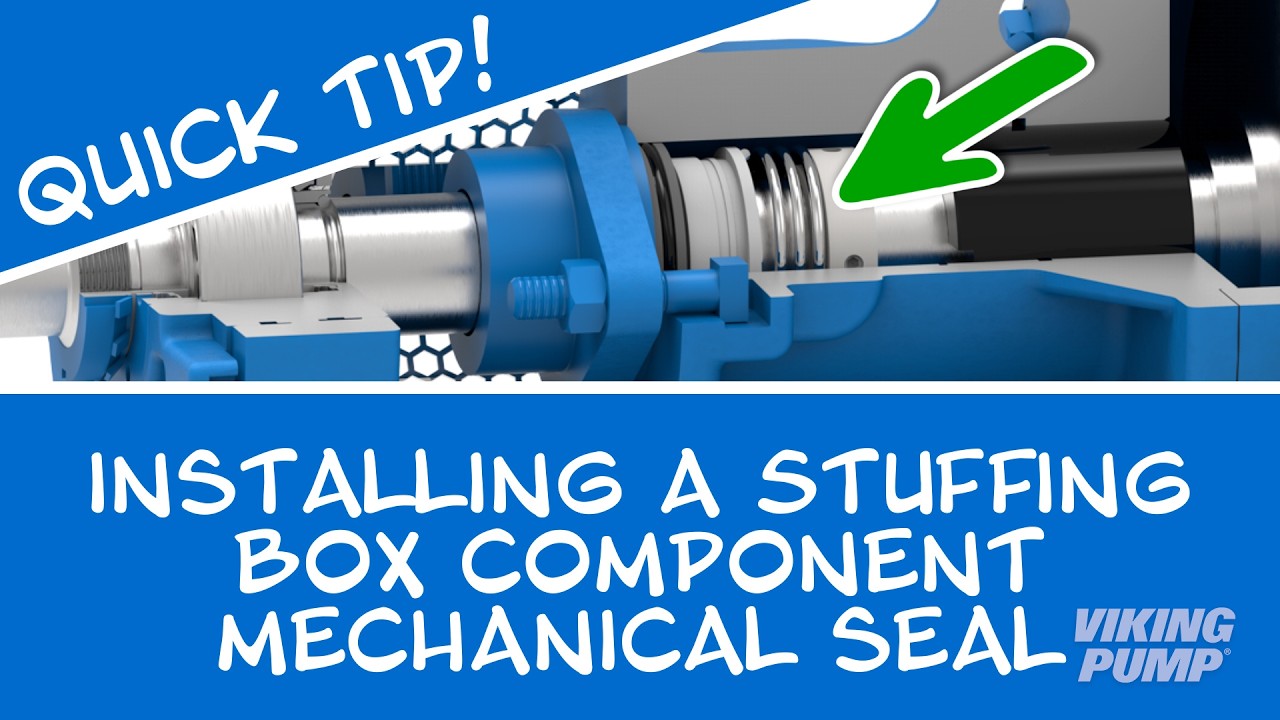
Le tenute meccaniche impediscono la fuoriuscita di liquido creando un film idrodinamico tra due superfici altamente levigate. Nelle pompe, le tenute meccaniche più semplici presentano una superficie rotante e una superficie statica. Ne esistono di vari tipi e si possono trovare in diverse tecnologie di pompaggio, ad esempio nelle pompe a ingranaggi interni, a ingranaggi esterni e centrifughe.
Come funziona una tenuta meccanica?
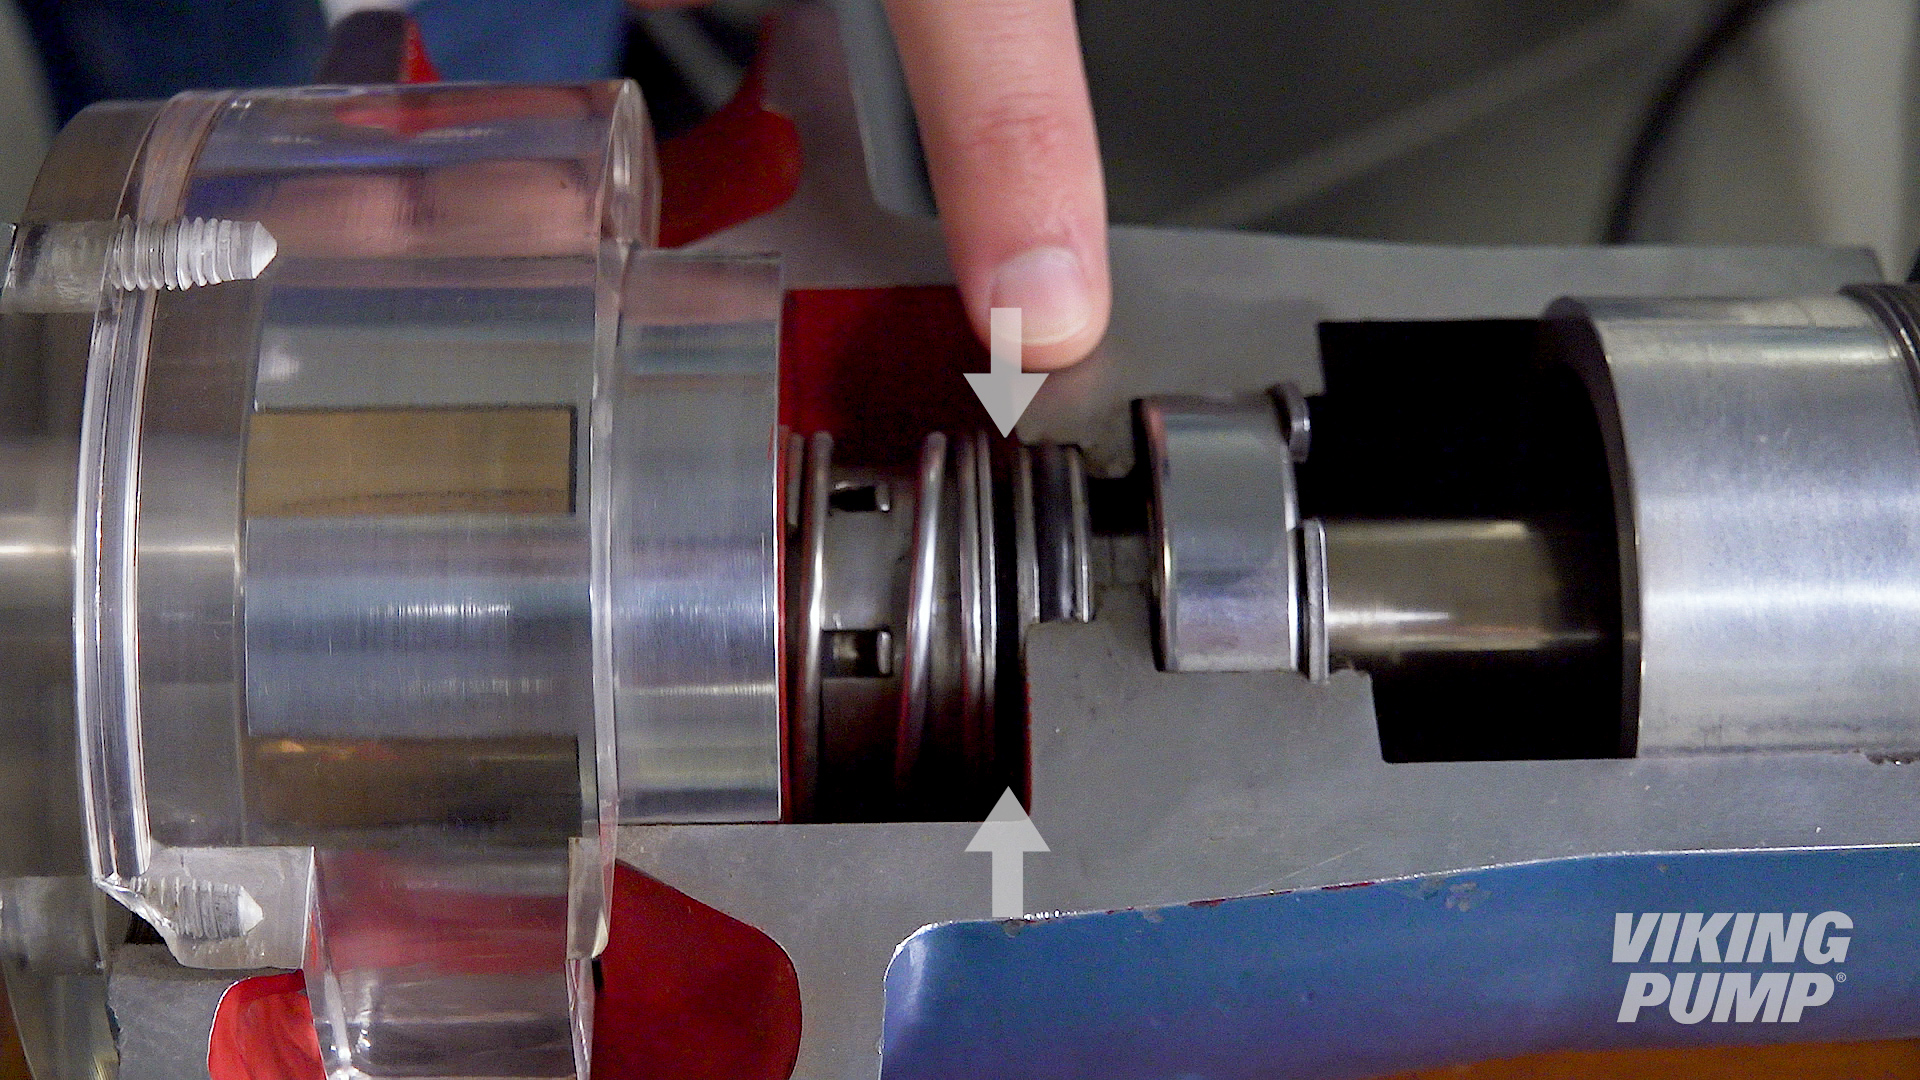
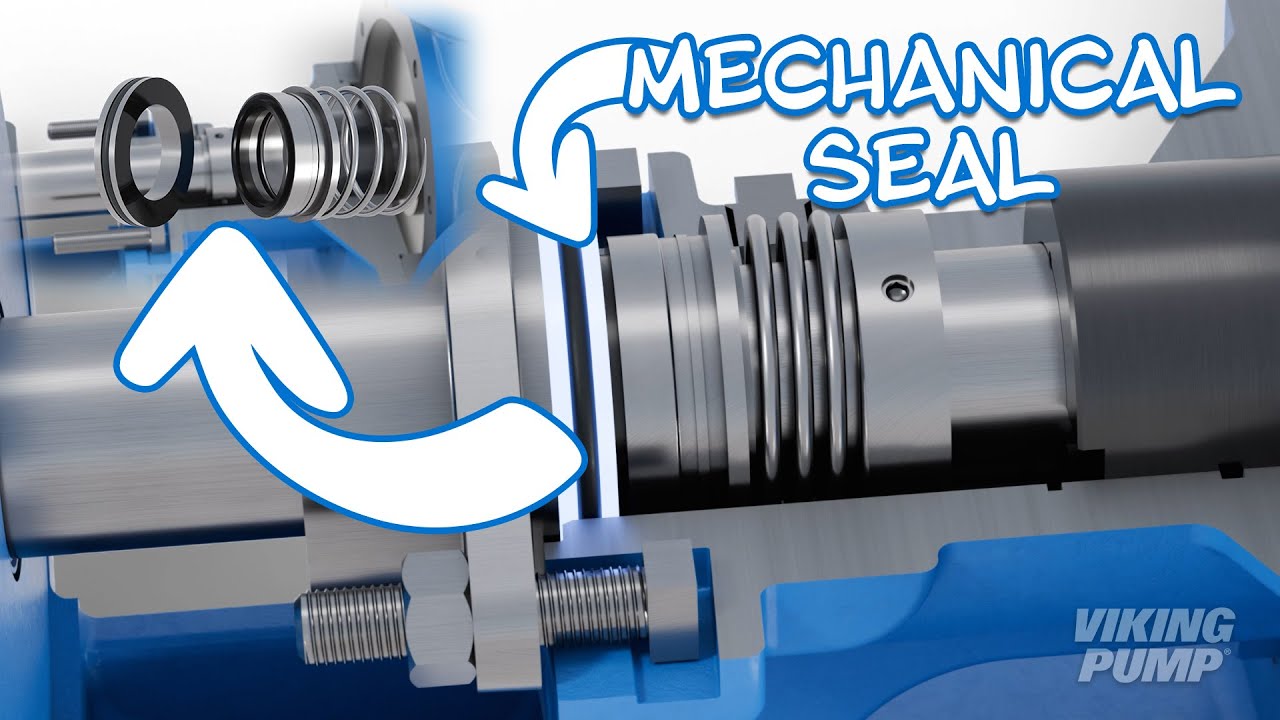
Le tenute meccaniche funzionano utilizzando due facce di tenuta separate. Una faccia di tenuta (statica) è solitamente installata nell’alloggiamento della pompa, o nella staffa, mentre l’altra (faccia rotante) è installata sull’albero della pompa. Queste due facce di tenuta sono lucide e presentano una finitura di alta qualità. Quando il liquido viene pompato, il fluido di processo si fa strada verso le facce di tenuta. Quando il liquido entra infine nello spazio tra le facce di tenuta, si forma un film idrodinamico che crea la tenuta e lubrifica le facce. Questa è la tenuta primaria. Una molla aiuta a tenere unite le facce di tenuta per mantenere la tenuta primaria.
Le tenute secondarie sono costituite da o-ring, soffietti o guarnizioni che impediscono le perdite oltre il premistoppa o lungo l’albero.
Quali sono i diversi tipi di tenute meccaniche?
Esistono molti tipi e modelli diversi di tenute meccaniche. Ecco alcuni esempi comuni di quelle utilizzate nelle pompe Viking:
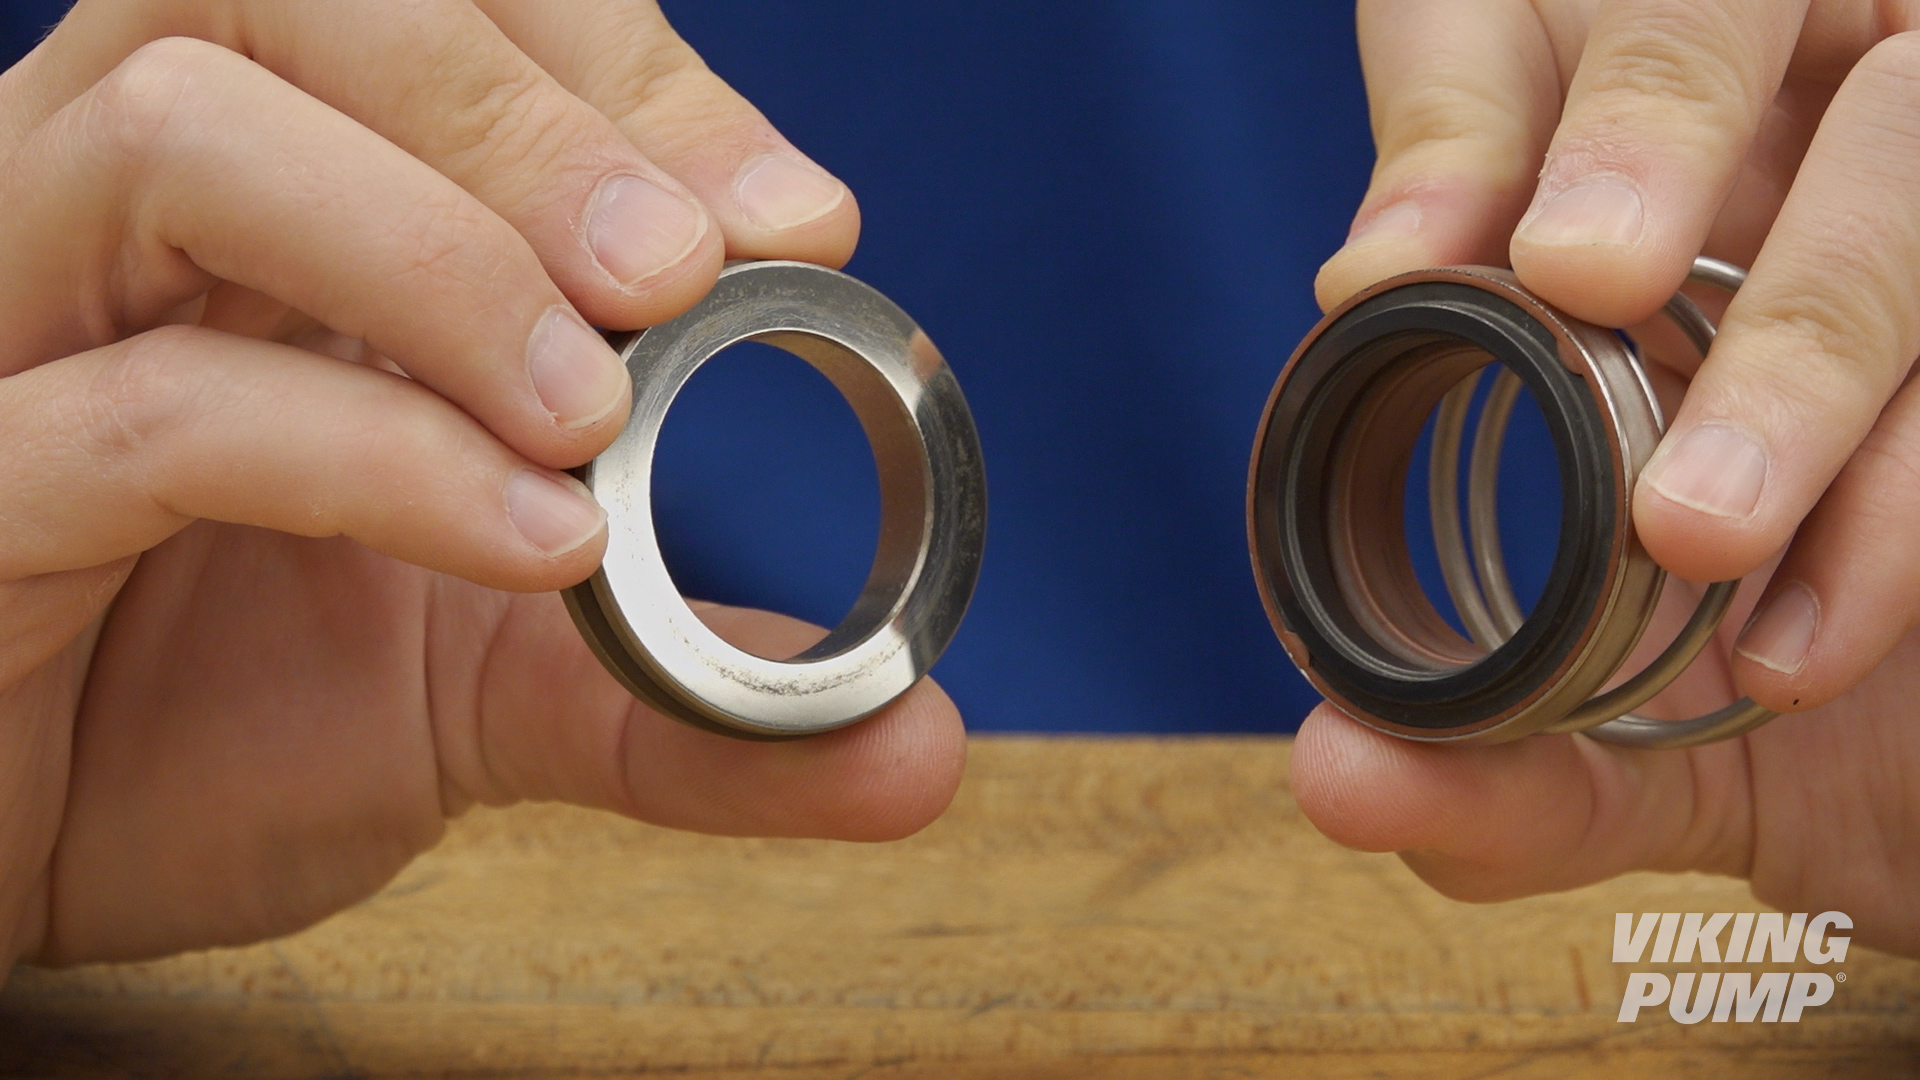
- Guarnizione monocomponente – costituita da una superficie di tenuta statica e una rotante, tenute unite da una molla. La tenuta primaria è garantita da un film di liquido di processo che si forma tra le due superfici di tenuta. Le tenute secondarie sono garantite da o-ring, soffietti o guarnizioni.
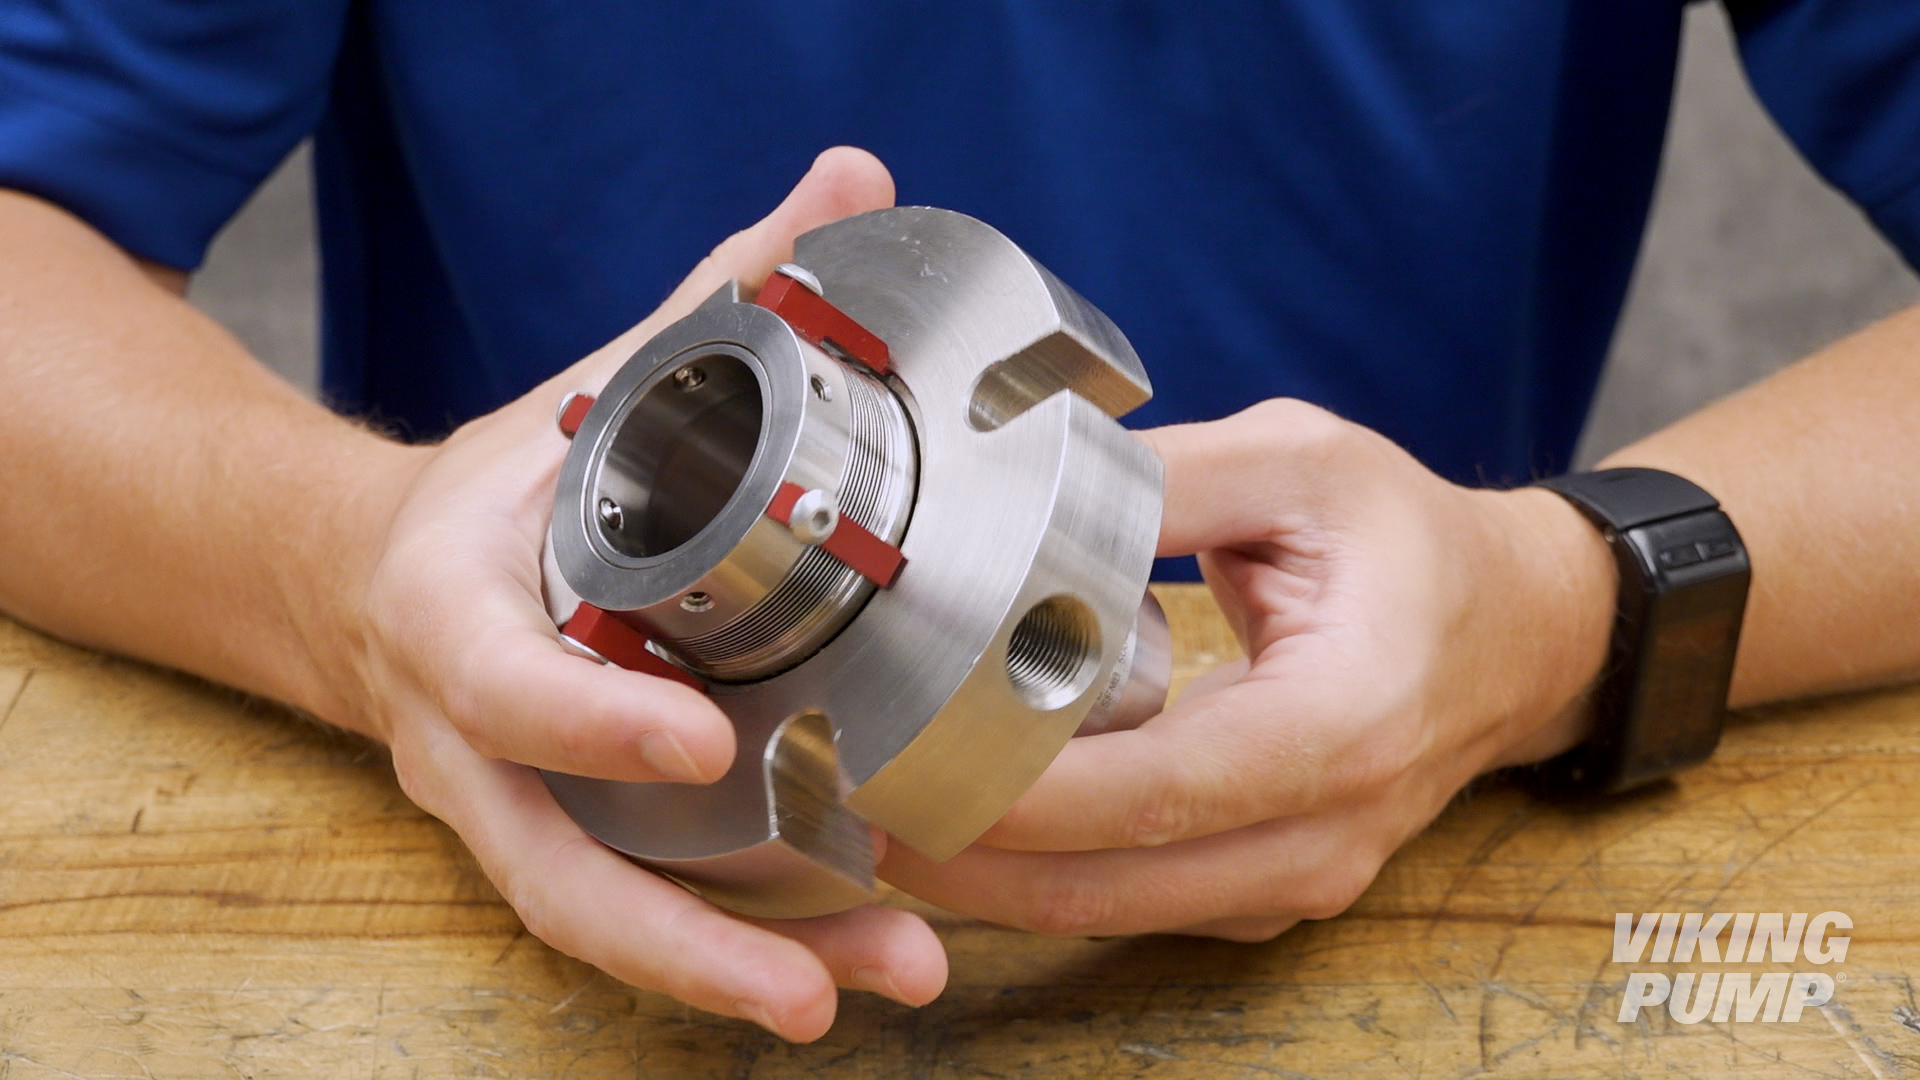
- Guarnizione meccanica a cartuccia – tutte le parti operative sono contenute in un alloggiamento predefinito. Ciò semplifica notevolmente l’installazione.
- Tenute meccaniche doppie – Queste tenute utilizzano due tenute meccaniche all’interno di un unico alloggiamento. Nell’alloggiamento, tra le due tenute, viene immesso un liquido barriera. Ciò impedisce l’esposizione del liquido di processo all’ambiente esterno e viene utilizzato per liquidi tossici, infiammabili o difficili da sigillare.
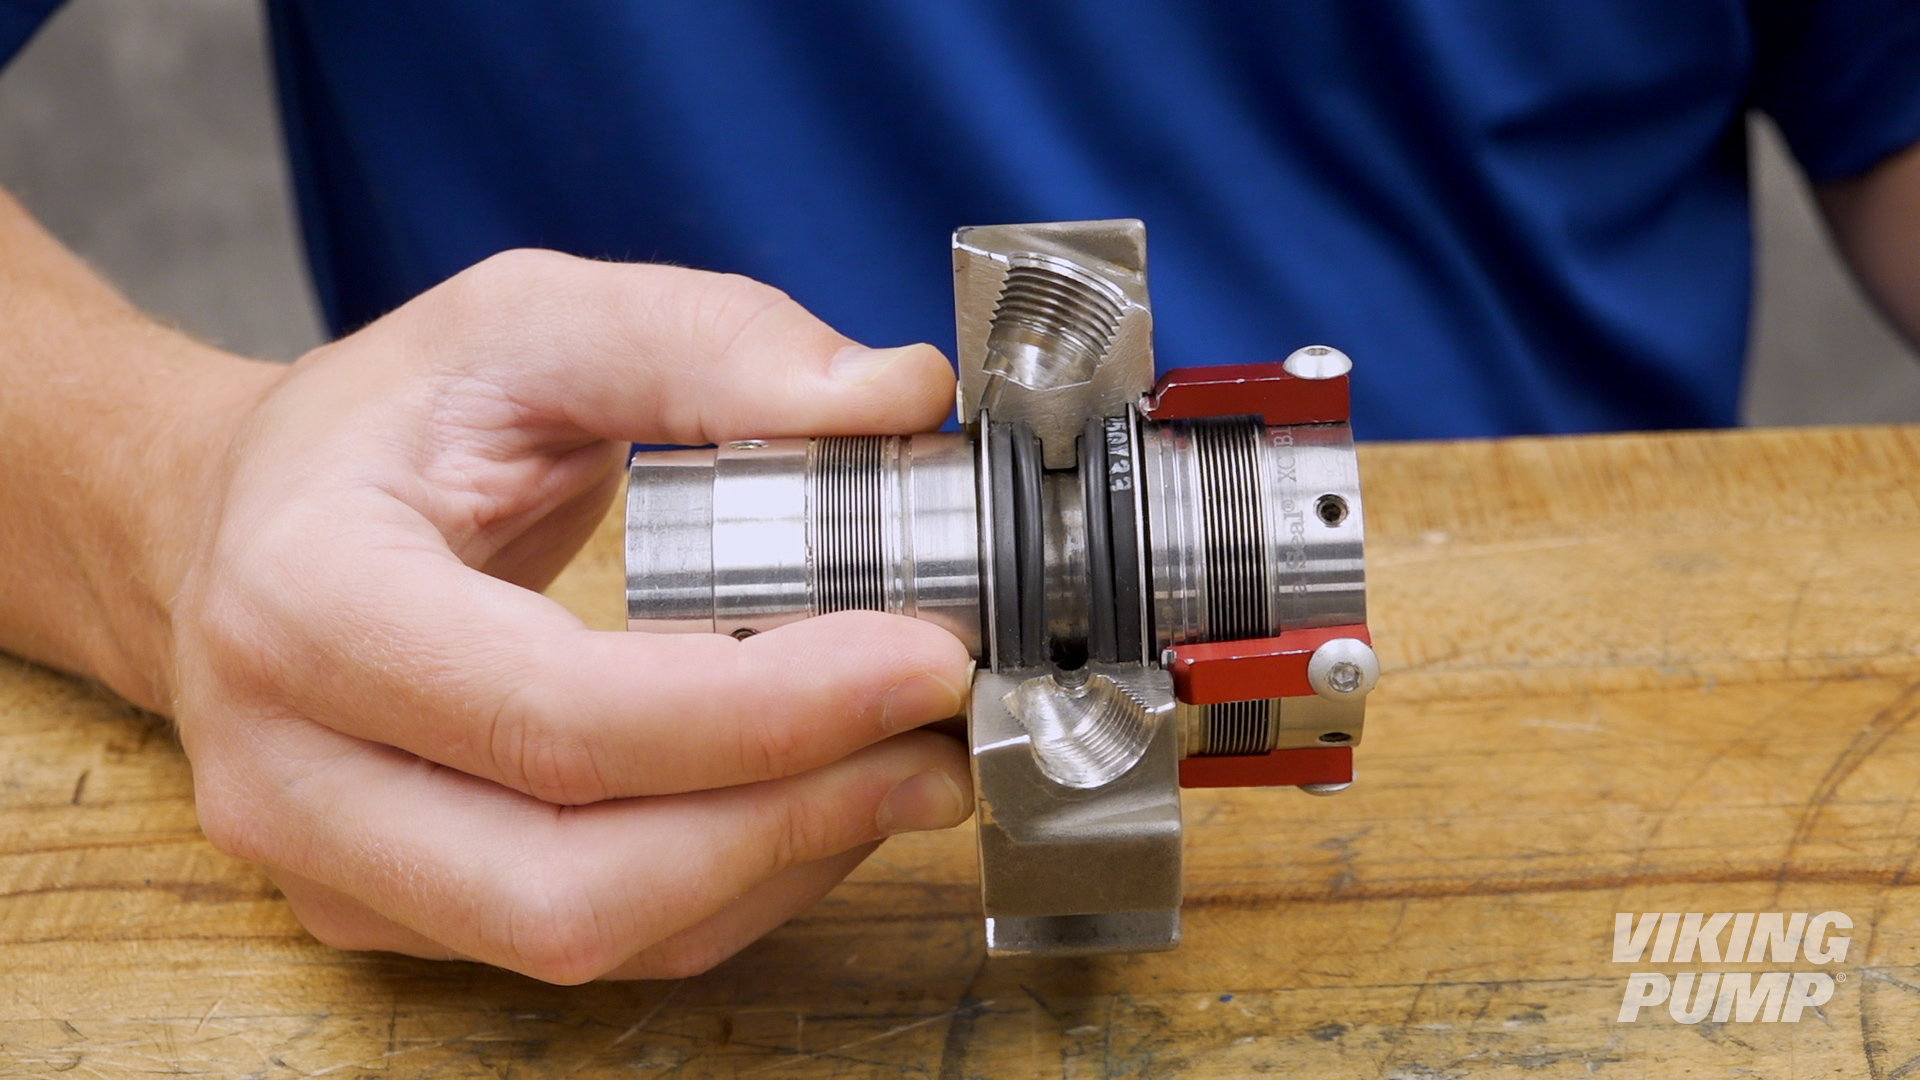
Come installare una tenuta meccanica
Di seguito sono riportati alcuni passaggi fondamentali per l’installazione di una tenuta a cartuccia. Questi passaggi possono variare a seconda del tipo di tenuta e della tecnologia della pompa in cui verrà installata, ma in questo esempio si riferiscono all’installazione di una tenuta meccanica a cartuccia nella serie 4124A™ di Viking Pump.
| 1. Inserire il manicotto di installazione della tenuta sull’albero e lubrificare sia il manicotto che l’albero. | 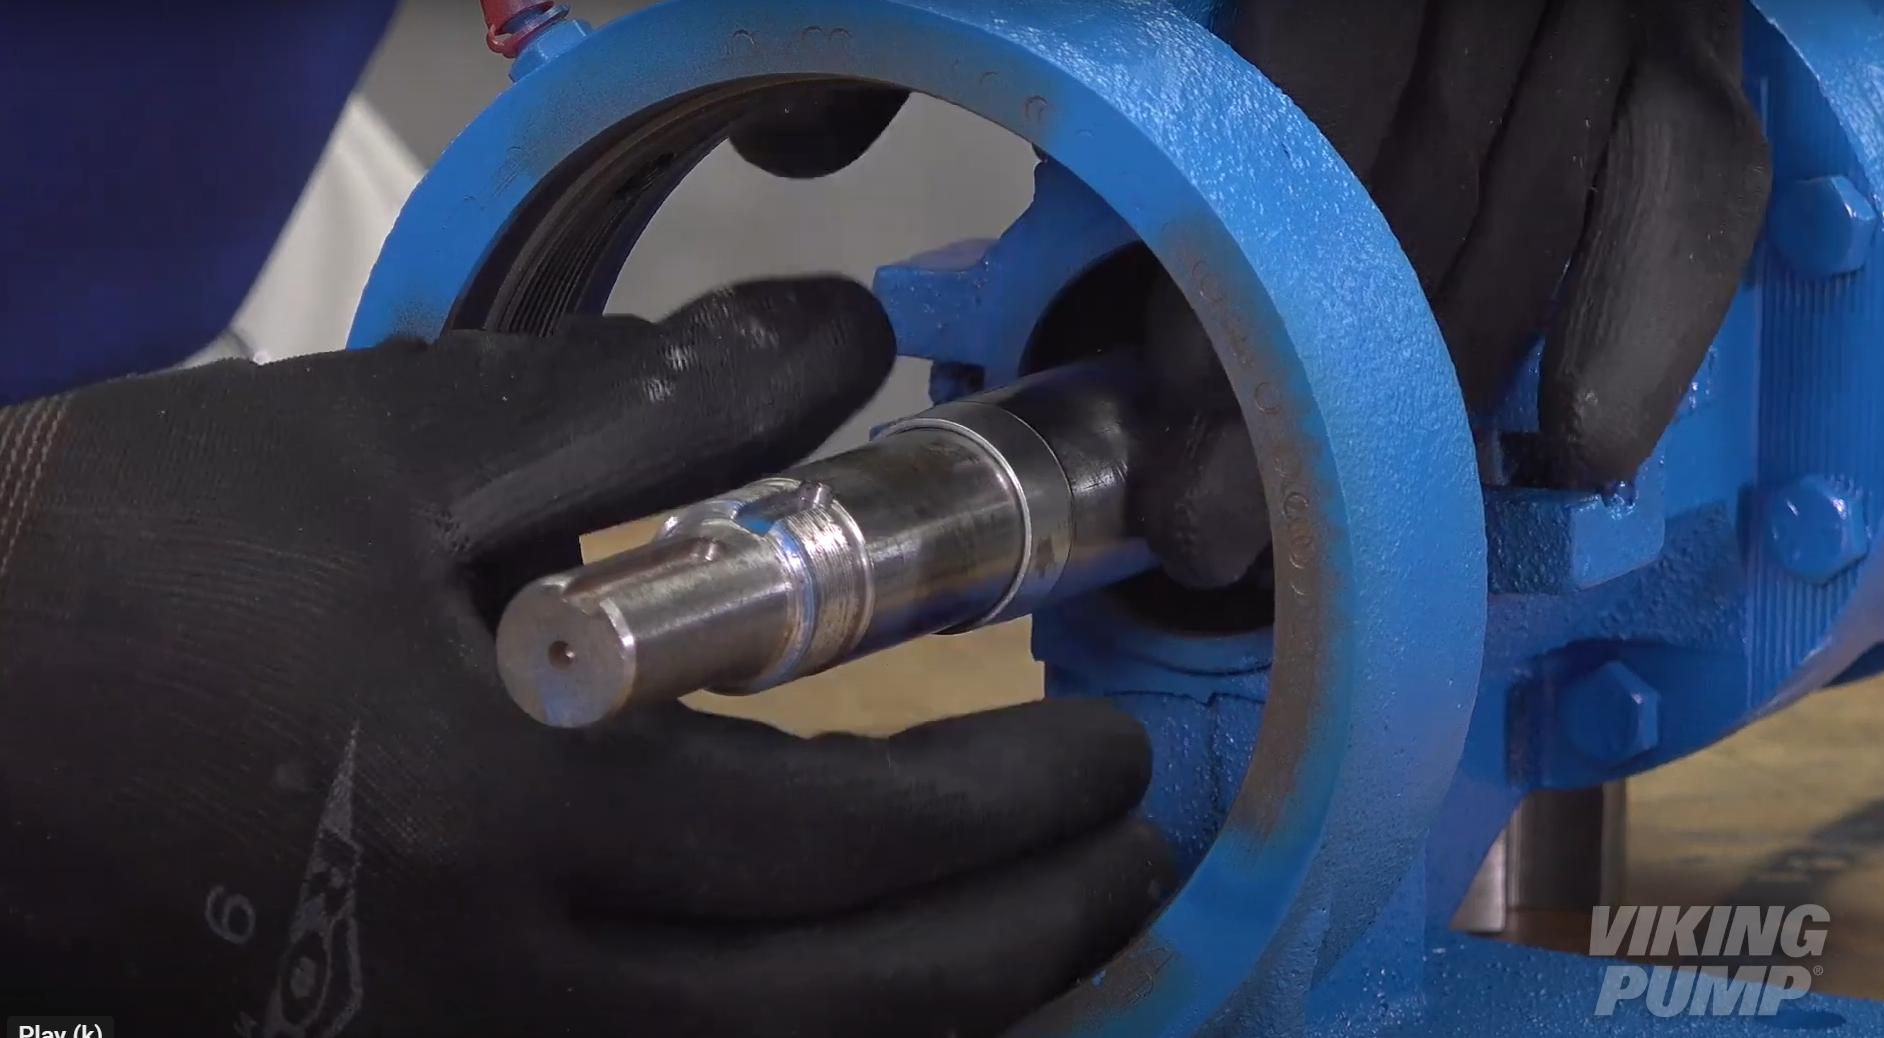 |
| 2. Far scorrere il gruppo della tenuta sull’albero e sopra il manicotto di installazione fino a quando il gruppo non entra in contatto con la superficie della staffa. | 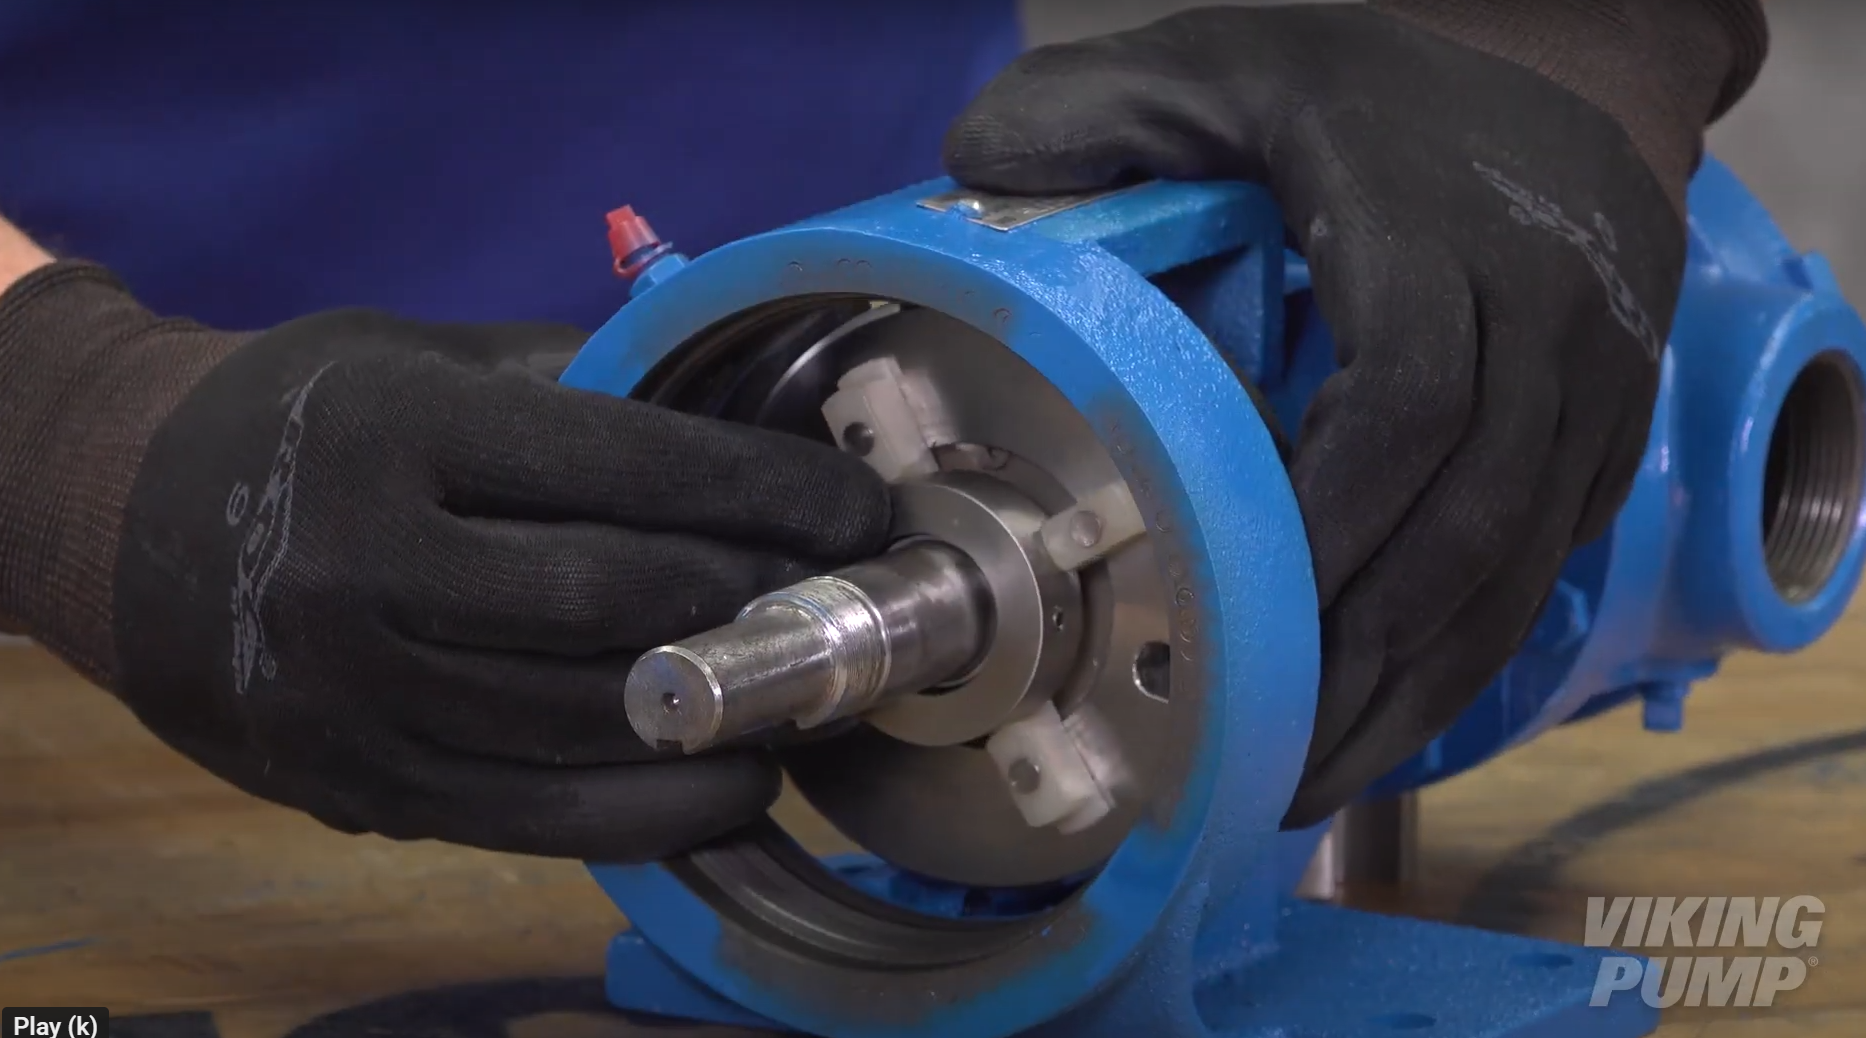 |
| 3. Rimuovere il manicotto di installazione. | |
| 4. Rimontare la pompa e regolare il gioco assiale. | |
| 5. Installare le viti del cappello del premistoppa. Non serrarle completamente in questa fase. | 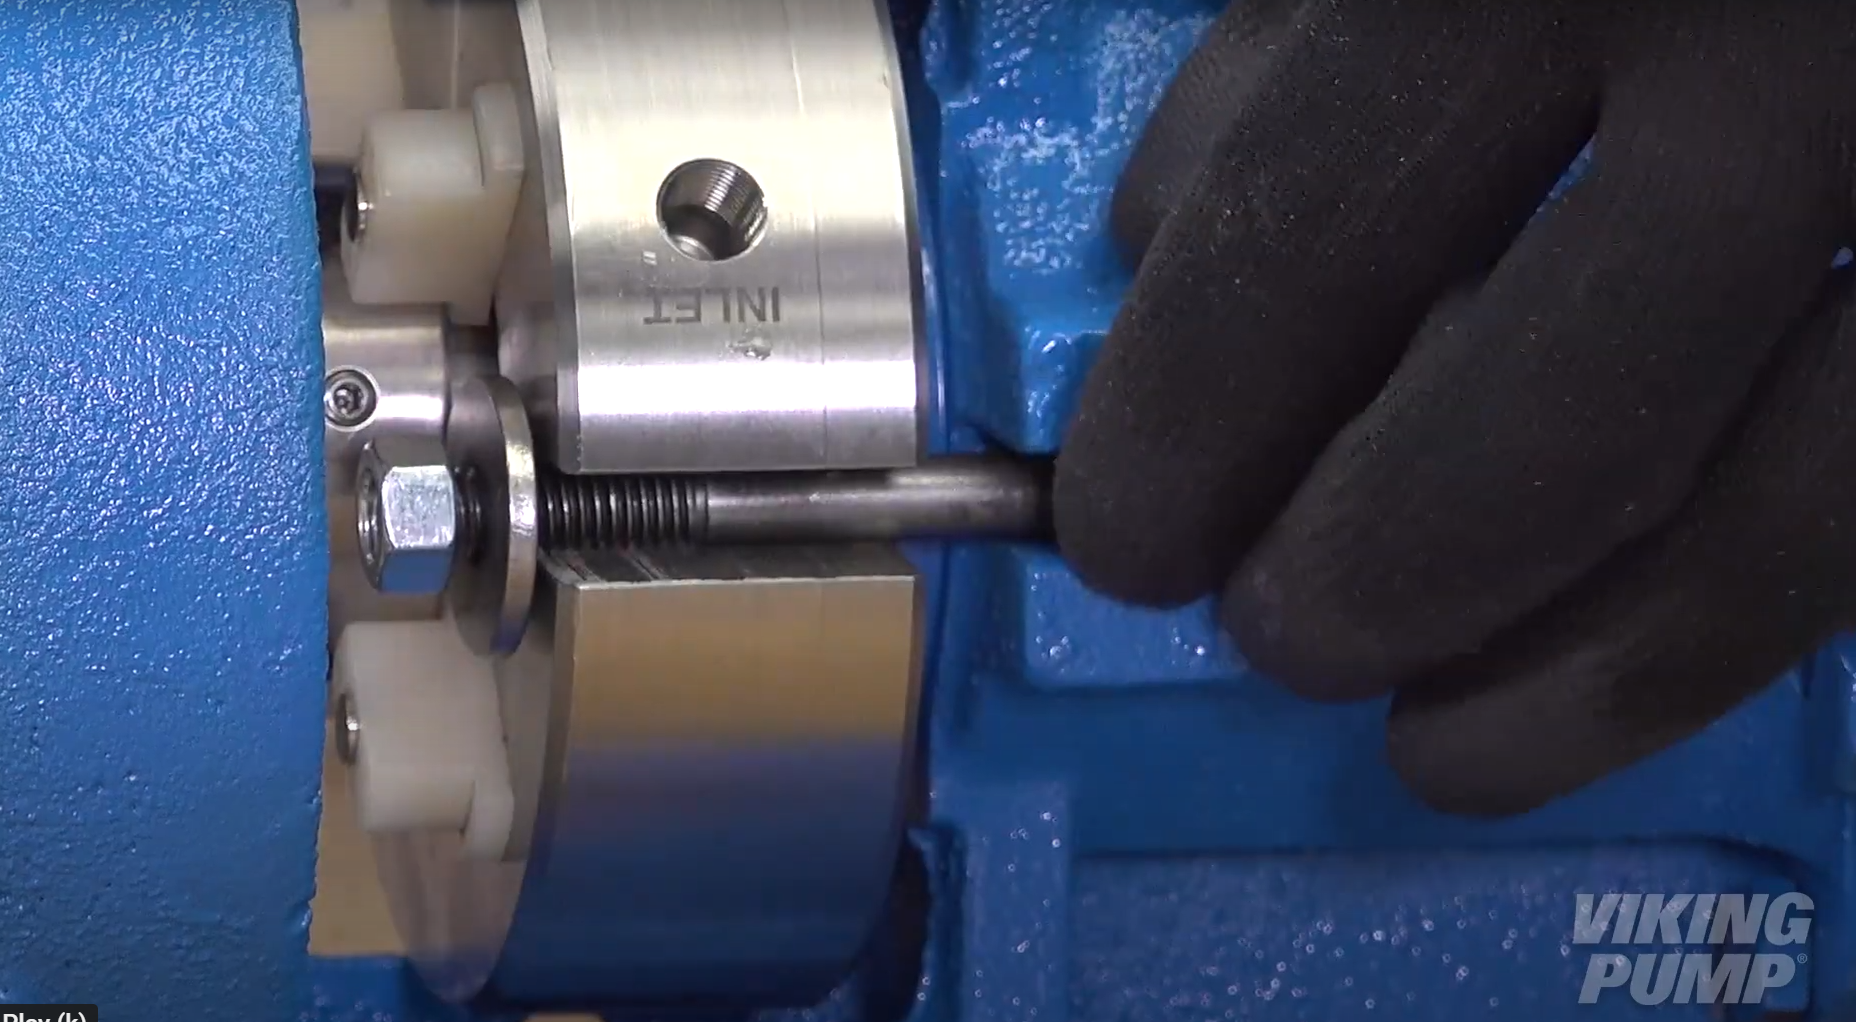 |
| 6. Ruotare l’albero più volte per centrare la tenuta. | |
| 7. Serrare le viti del cappello quanto basta per comprimere la guarnizione della tenuta. | |
| 8. Serrare in modo uniforme le viti di fissaggio del manicotto della tenuta per fissare il collare all’albero. | 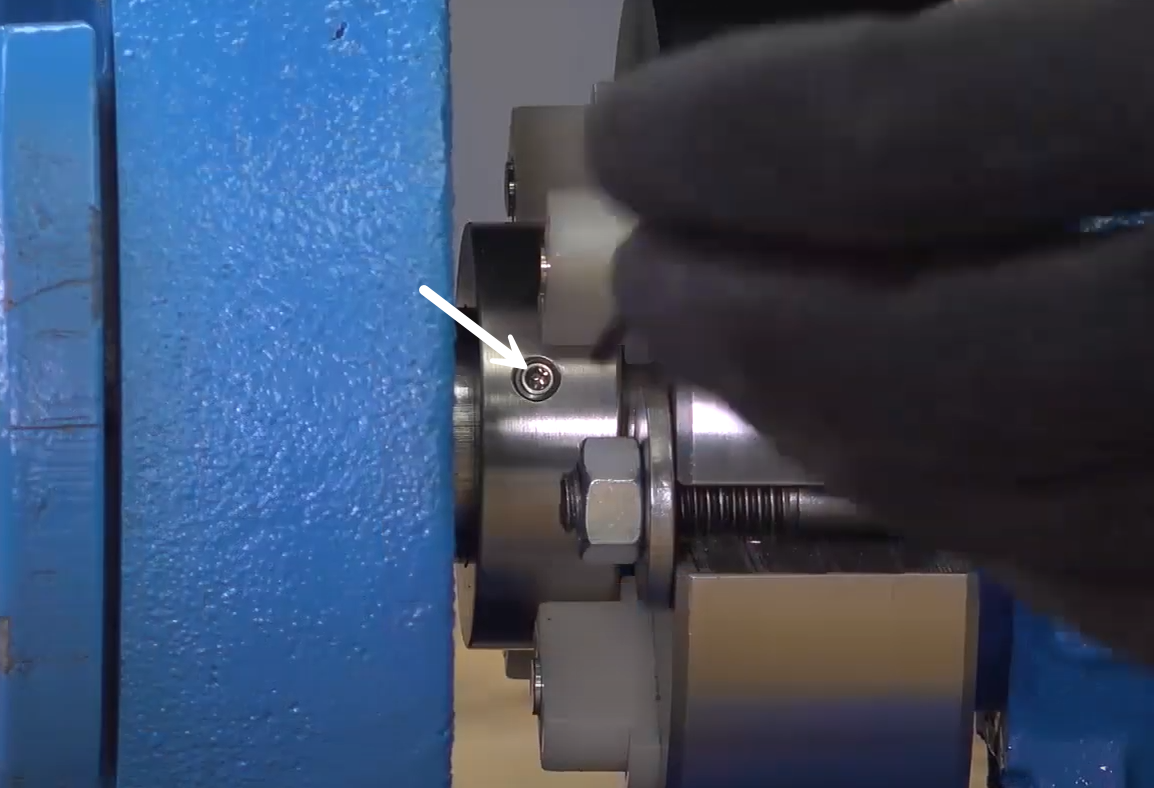 |
| 9. Ruotare o rimuovere i distanziatori della tenuta e verificare la rotazione. | 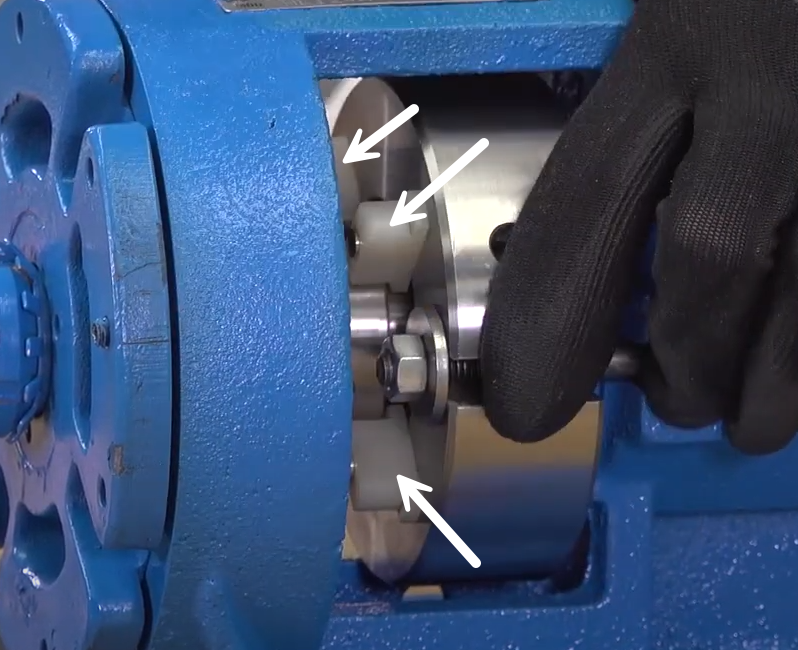 |
| 10. Ricollegare la tenuta o tappare i collegamenti inutilizzati. | |



October 06, 2025

January 07, 2025