For decades, Viking Pump's Universal product line has been capable of switching between many different seal types. In this article, we'll cover the basic steps for converting your pump from packing to Viking Pump's O-Pro® Guard seal.
Before you begin, please consult the appropriate technical service manual for safety information.
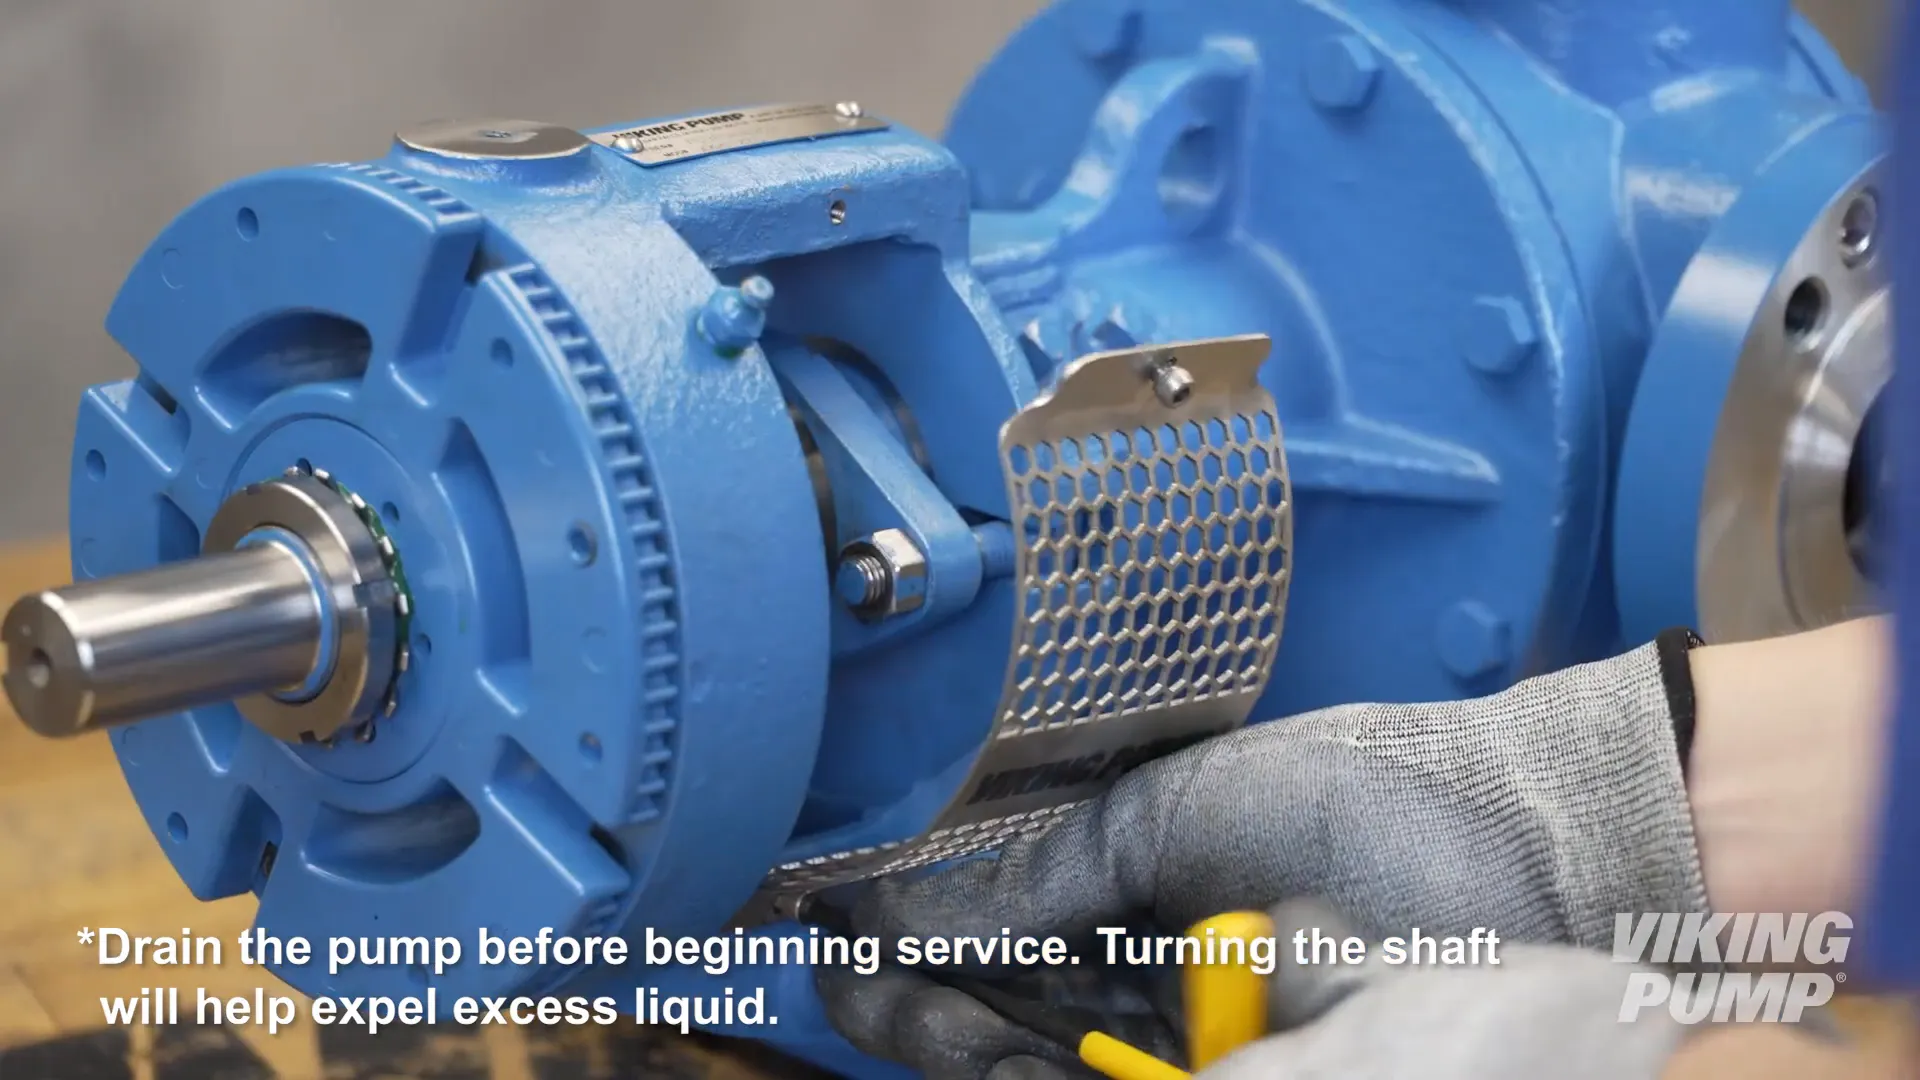
Step 1: Disassembling the Pump
Start by removing the stainless-steel window guards from the bracket.
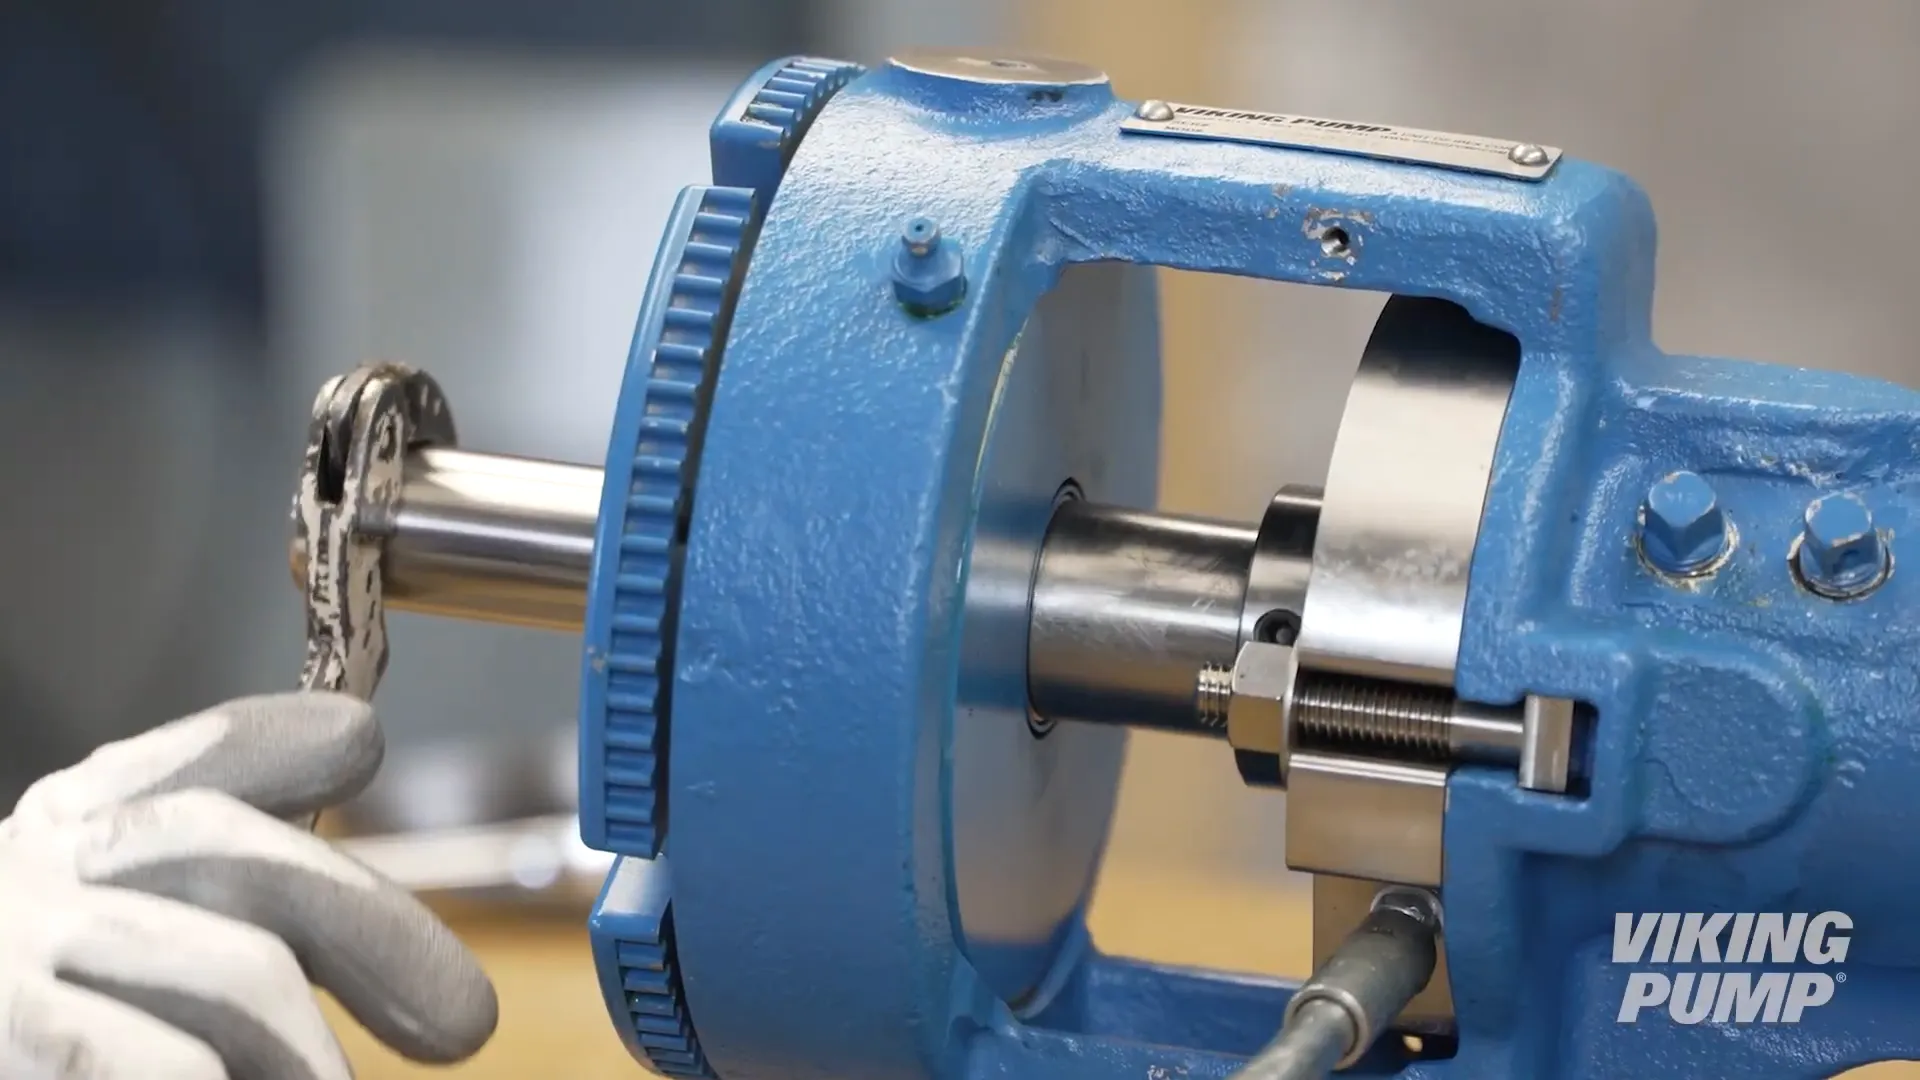
Next, bend up the tang of the lock washer. To prevent the pump from turning while you work, place a brass or hardwood bar into the port opening.
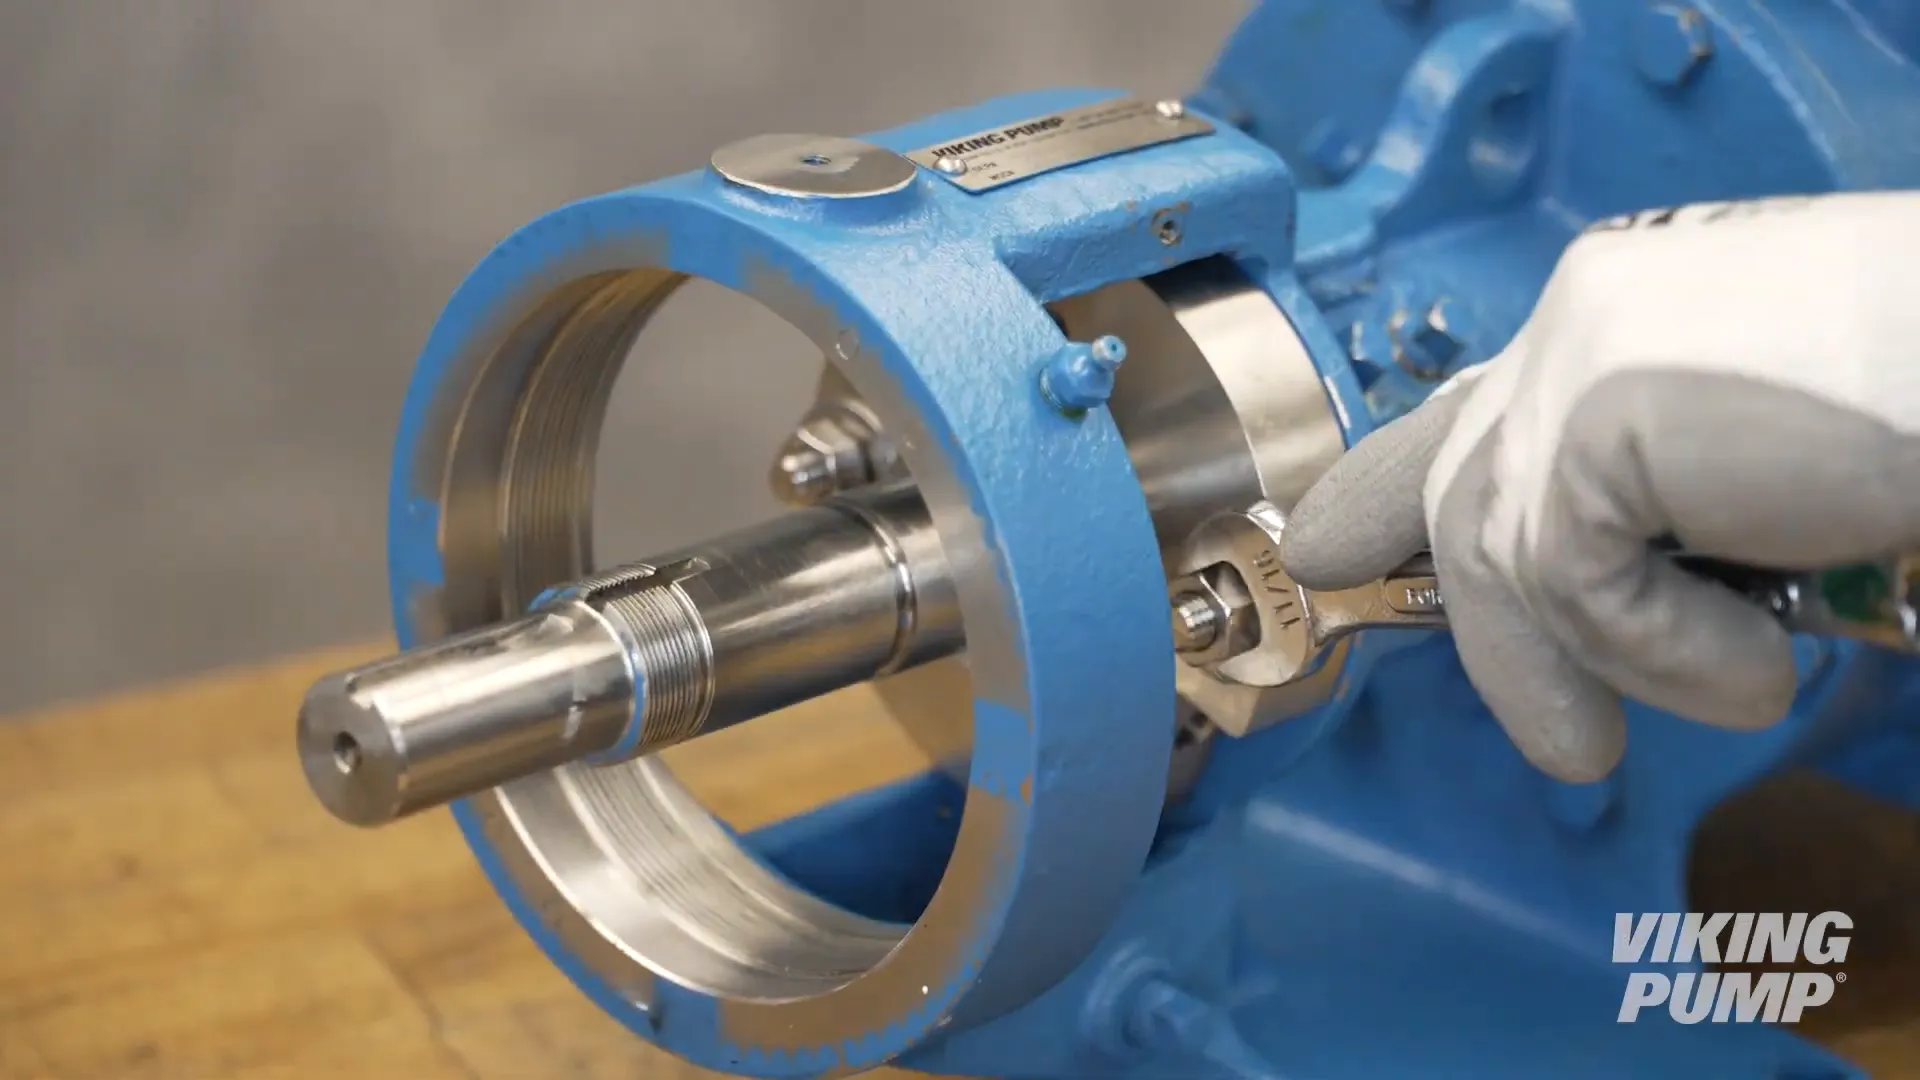
Now, loosen and remove the lock nut. Discard the lock washer. Following this, loosen the bearing housing set screws and remove the bearing housing. You may also need to remove the bearing spacer collar, which could have come out with the bearing housing.

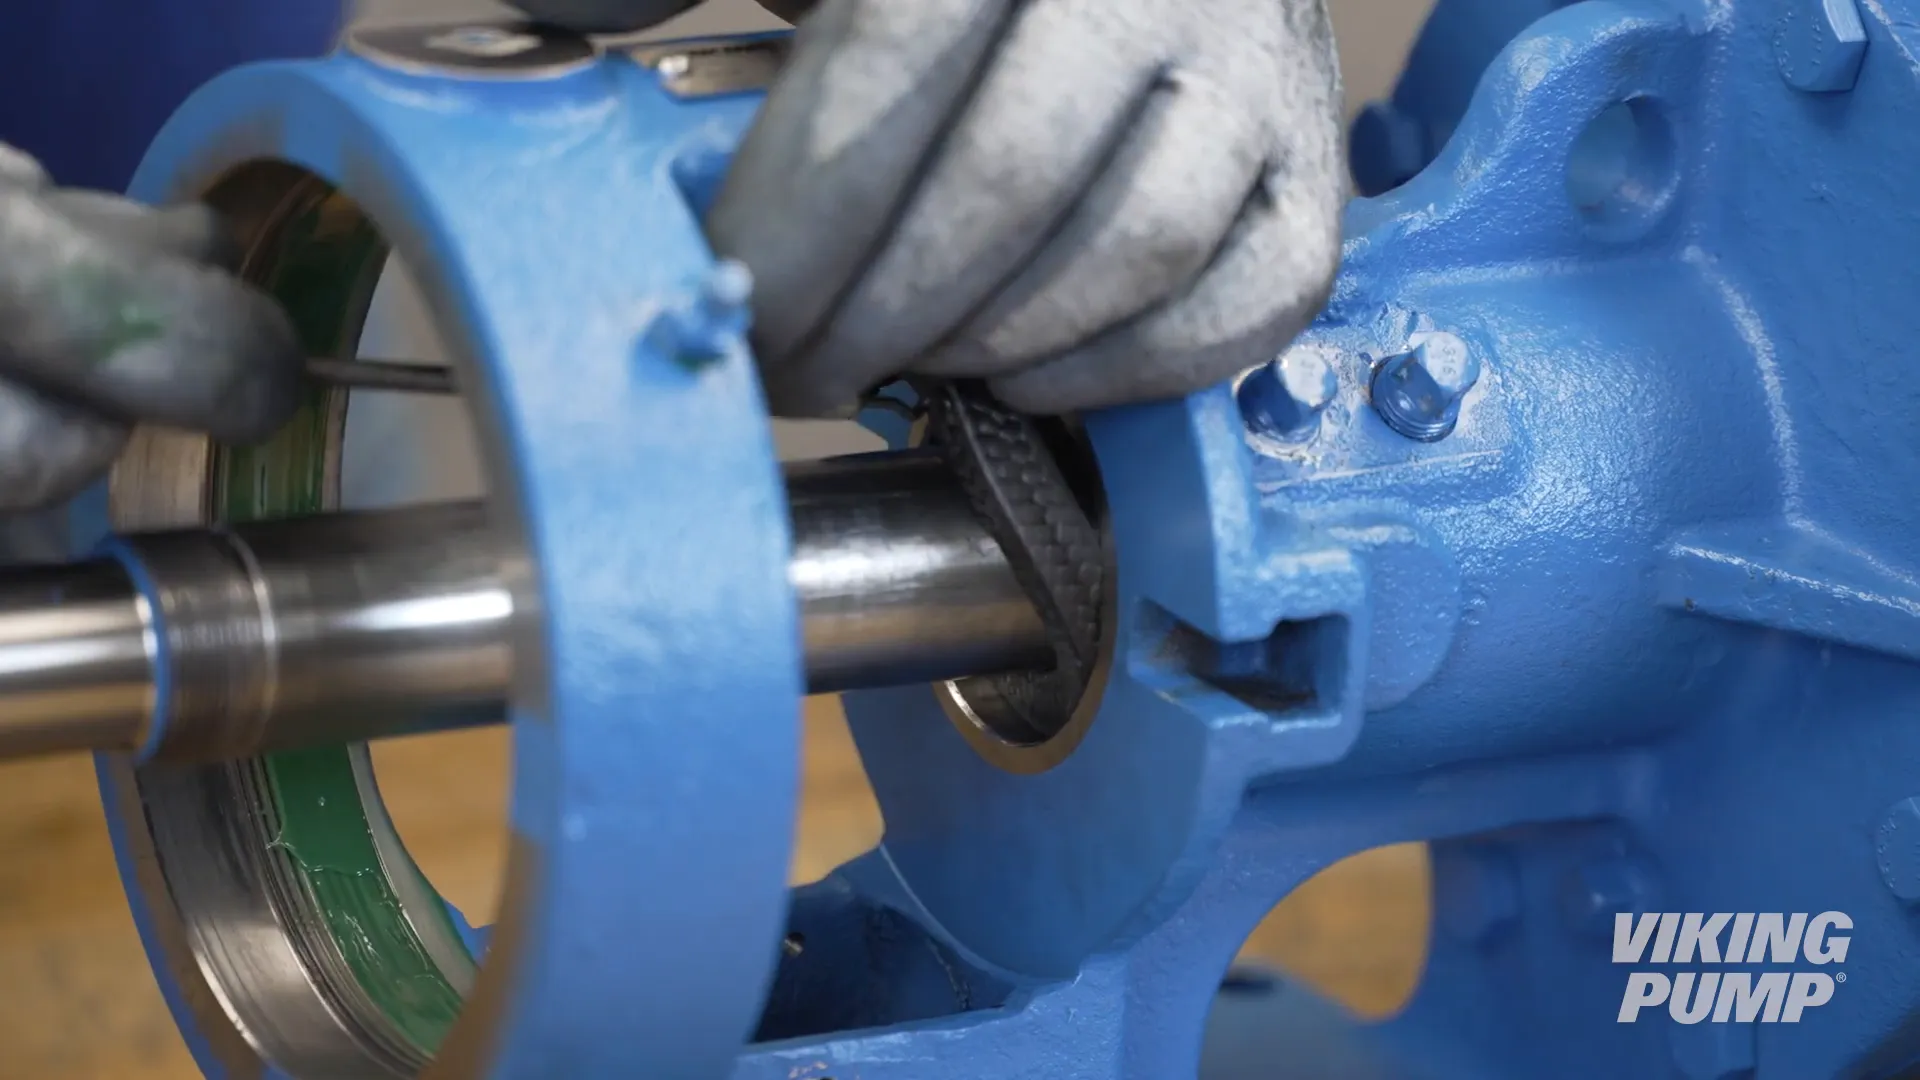
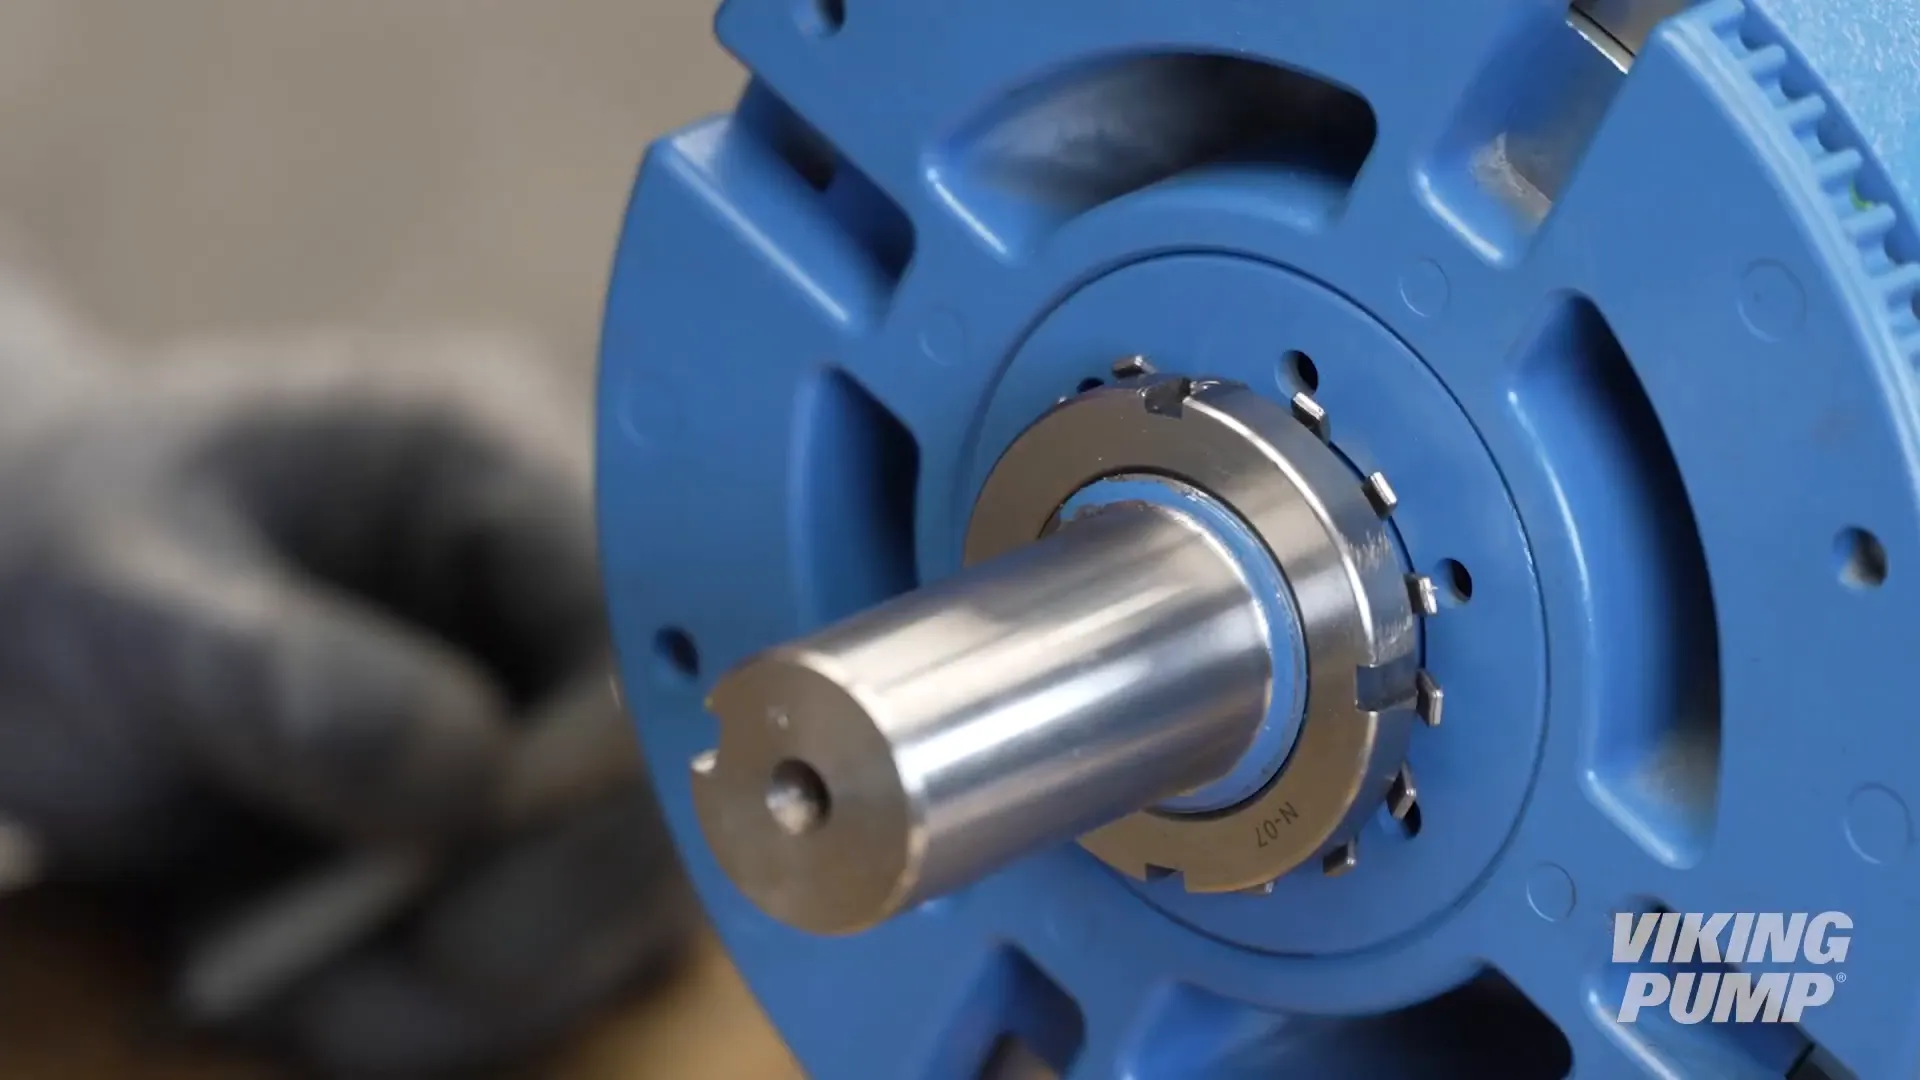
Continue by removing the half-round rings. Then, loosen and remove the packing gland lock nuts, followed by the packing gland itself. Remove the T-bolts.

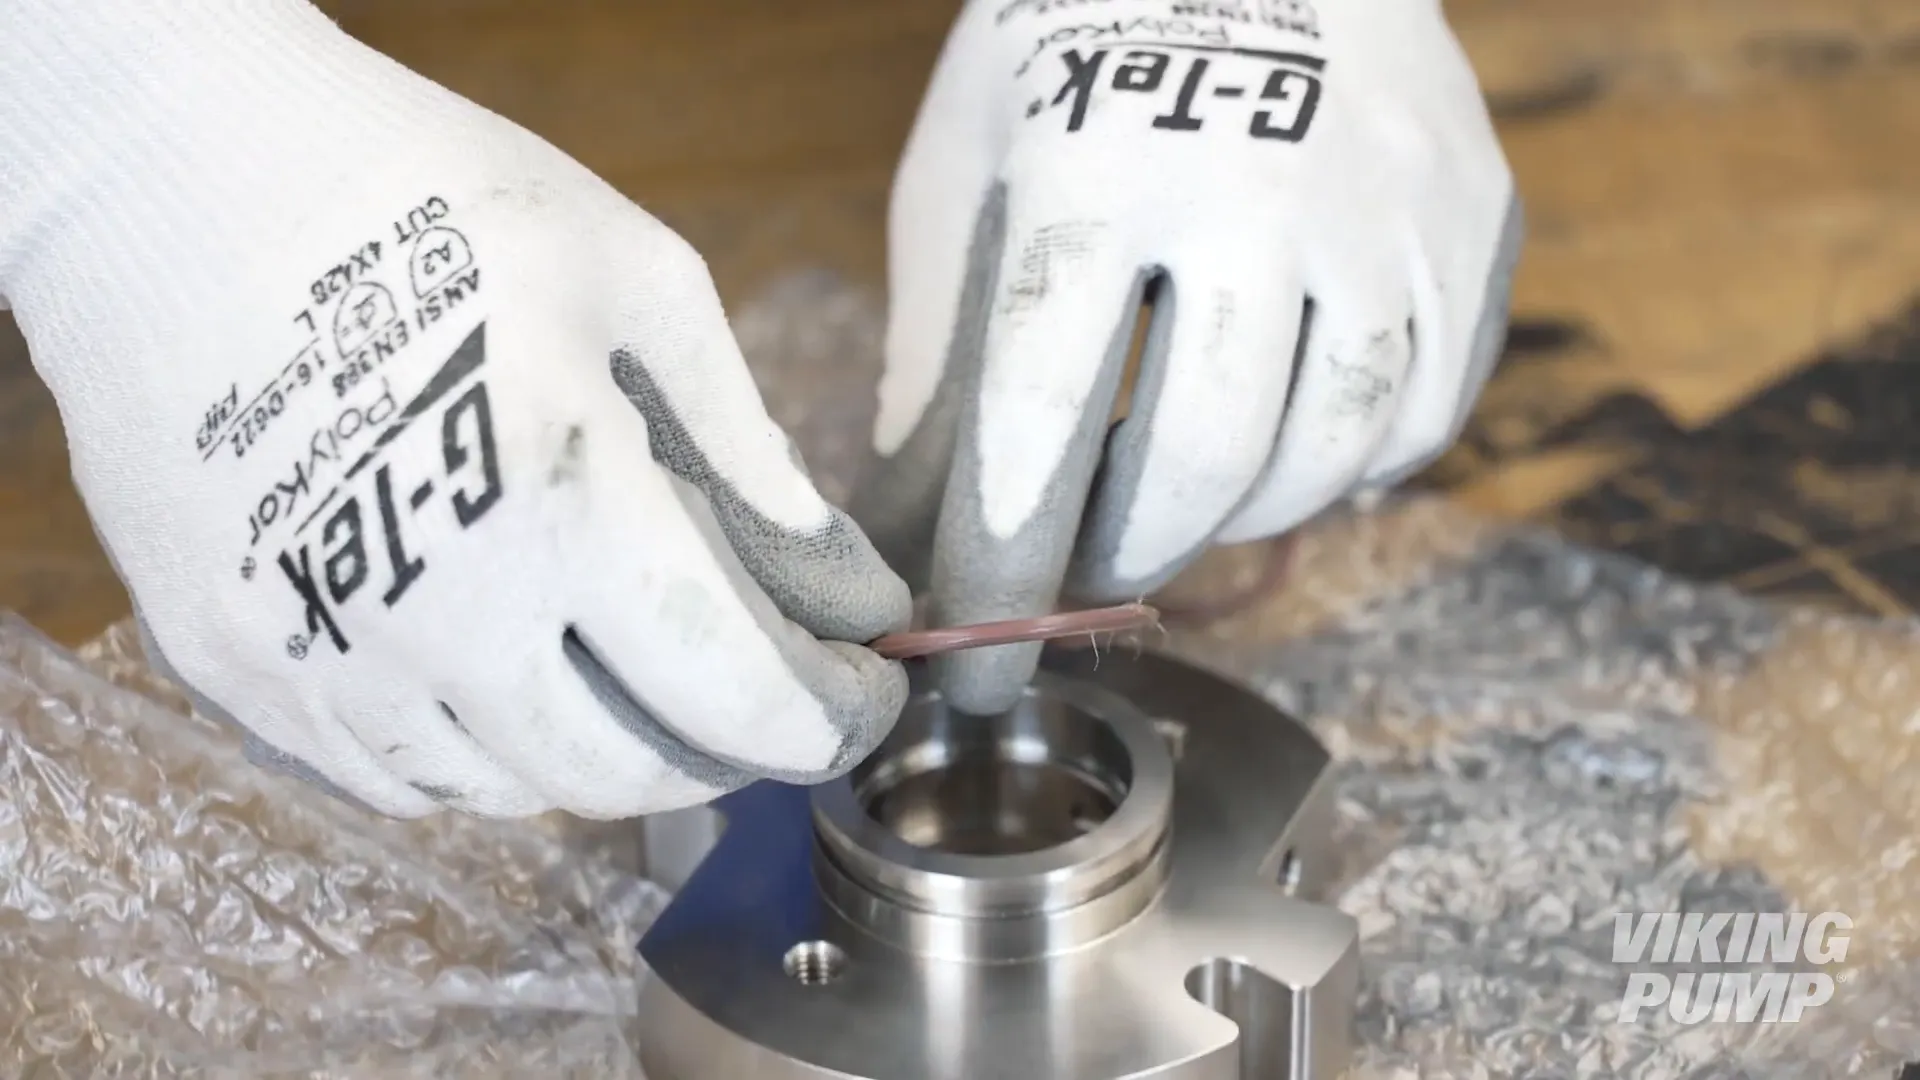
Using a packing hook, carefully remove each packing ring.
After this, remove the packing retainer washer and the internal retaining ring.
Step 2: Preparing for the O-Pro® Guard Seal Installation
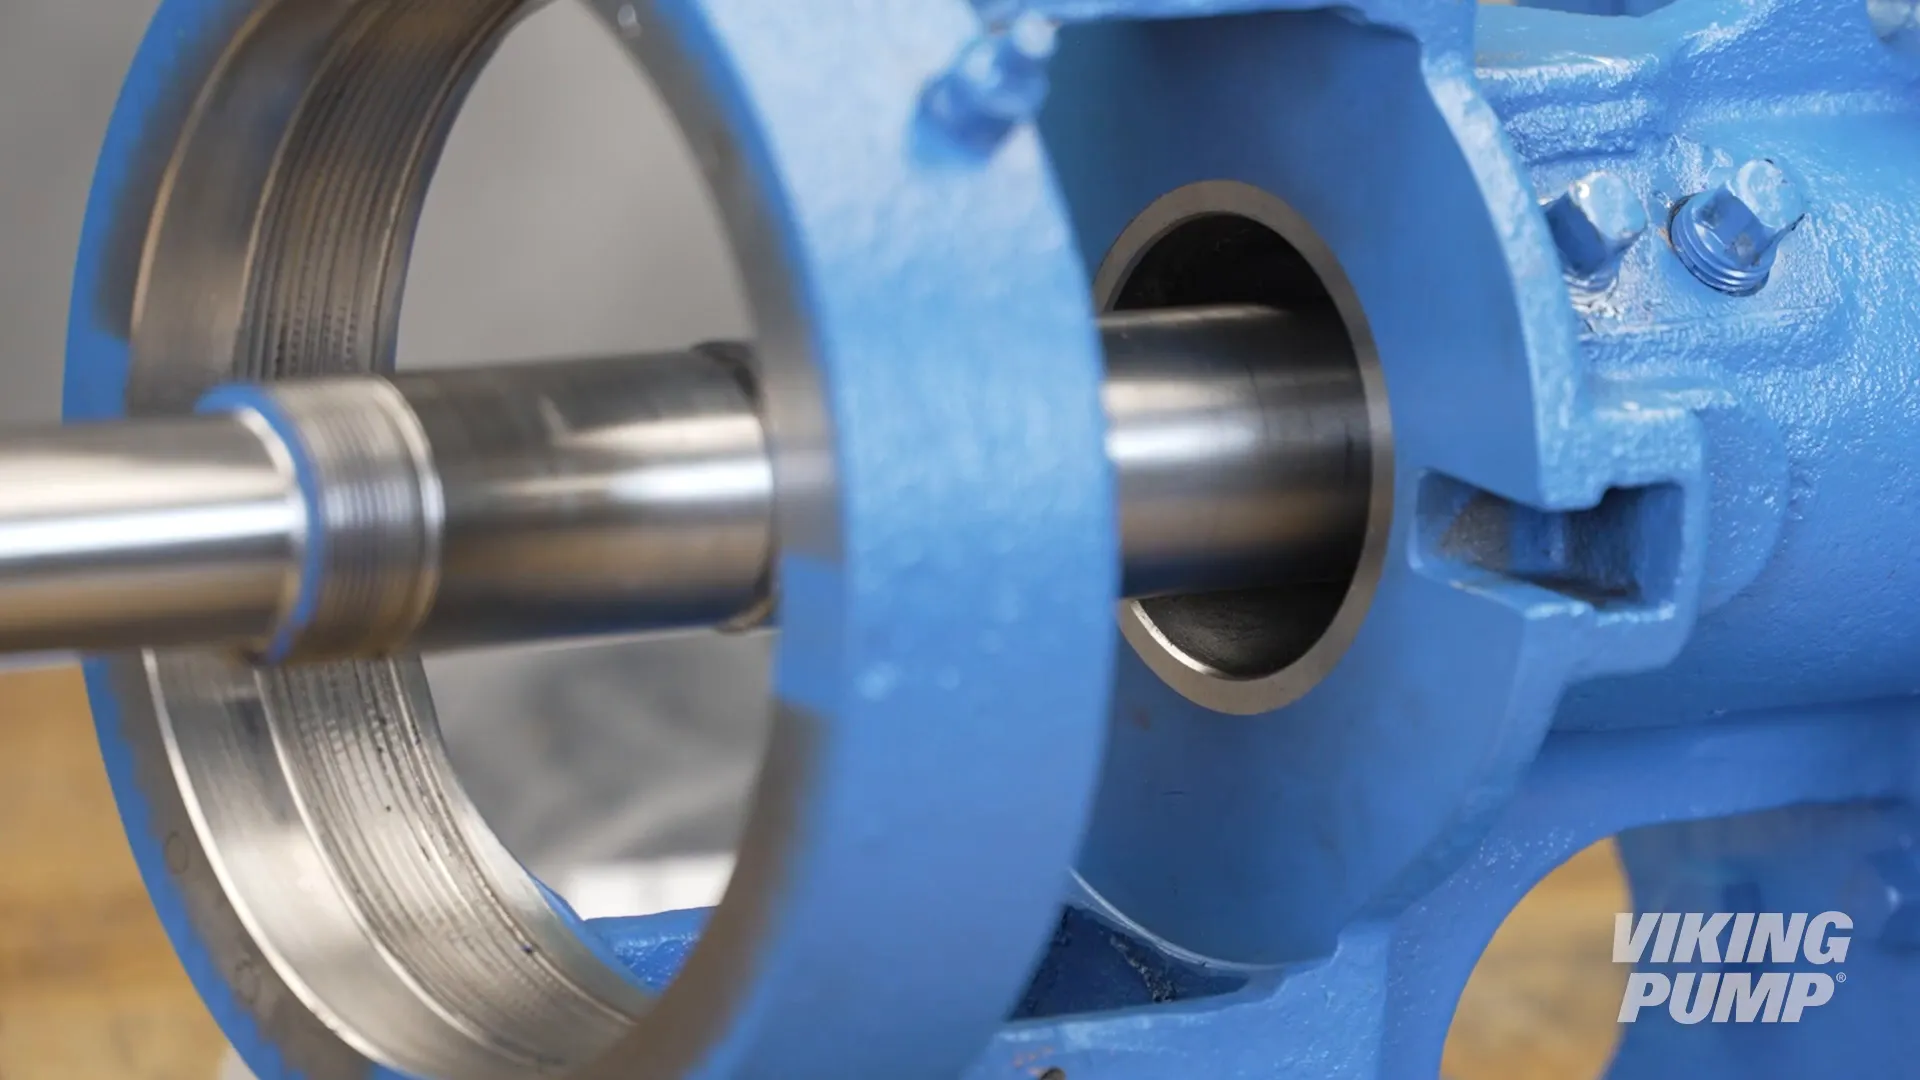
Before installing the new O-Pro® Guard seal, ensure the shaft is free of any debris or wear. Any burrs can damage the O-rings during installation, so take your time to inspect the shaft closely.
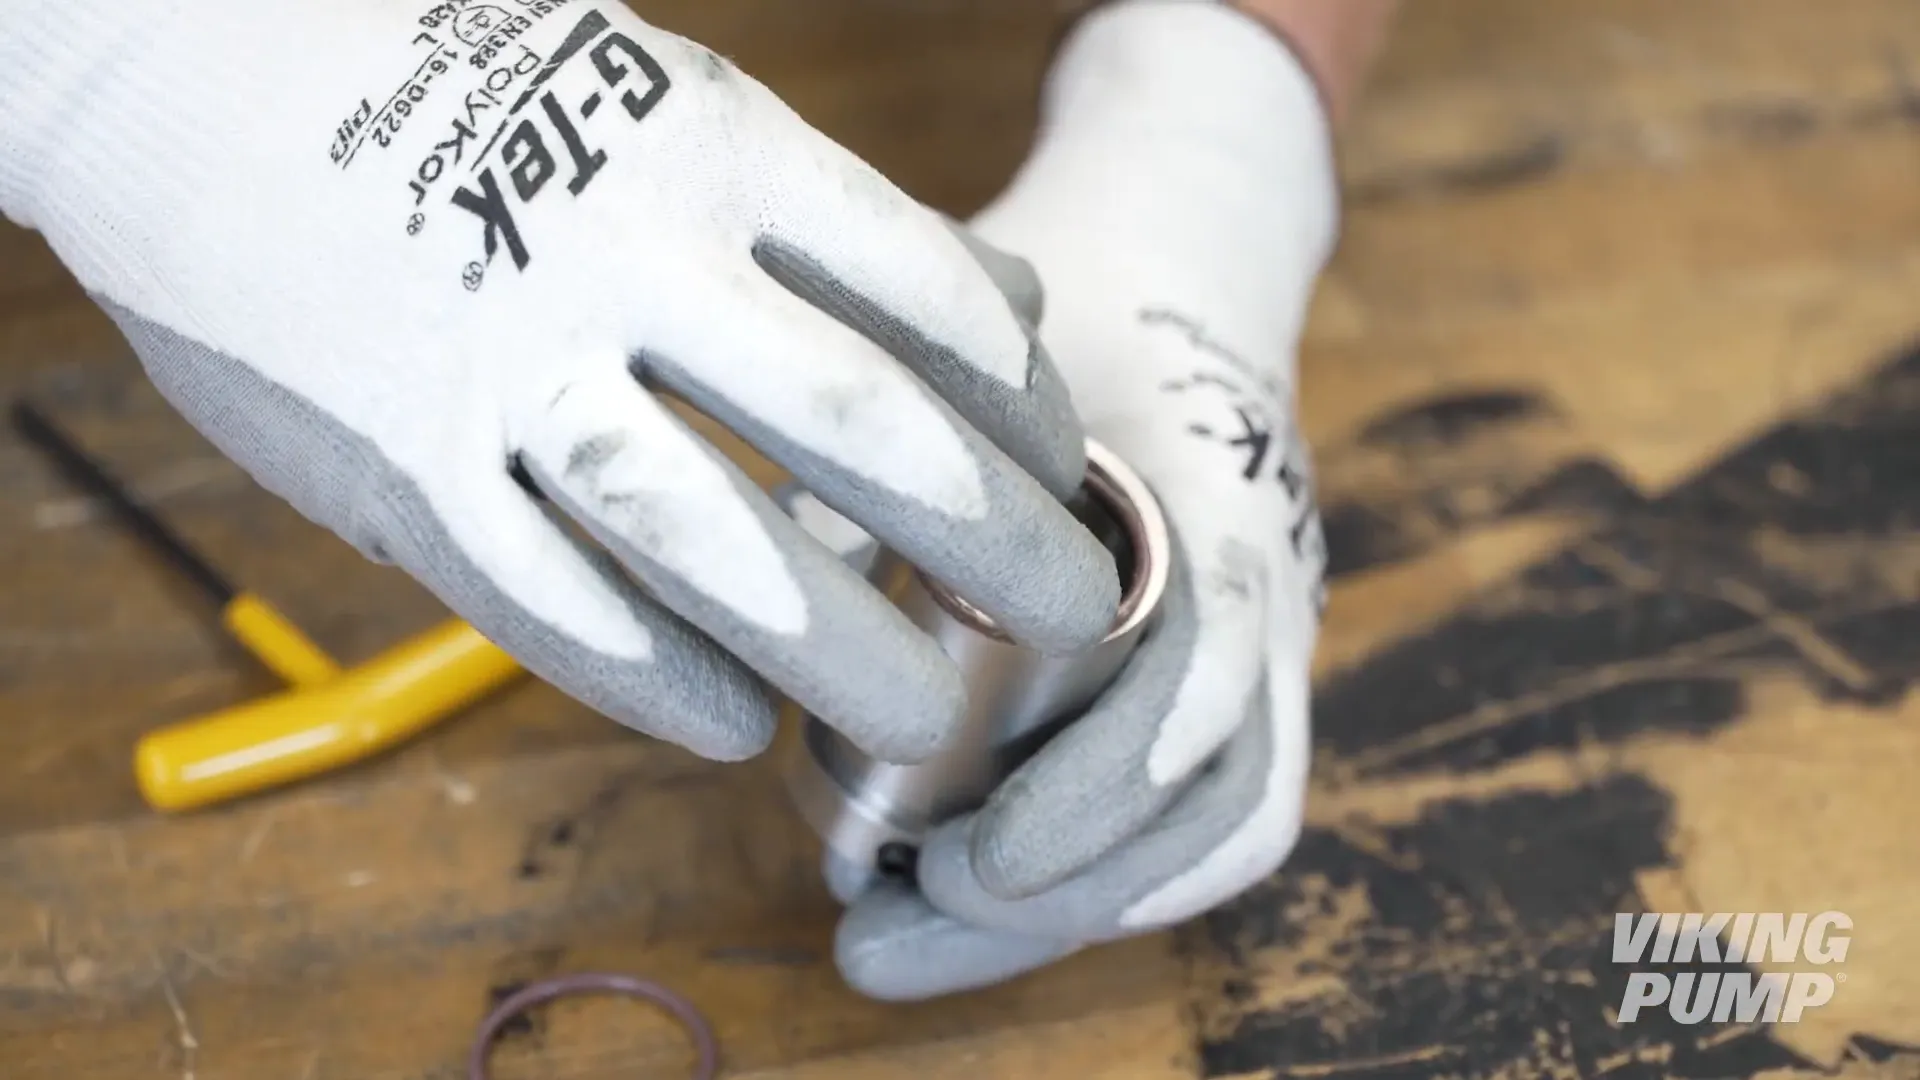
Now, let’s prepare the O-Pro® Guard seal for installation. Start by installing the three set screws into the sleeve. It's important to ensure the set screws do not reach the inner diameter of the sleeve to avoid scratching the shaft upon installation.
Next, lubricate and install the two internal O-rings into the sleeve.
After that, do the same for the O-Pro® Guard seal gland.
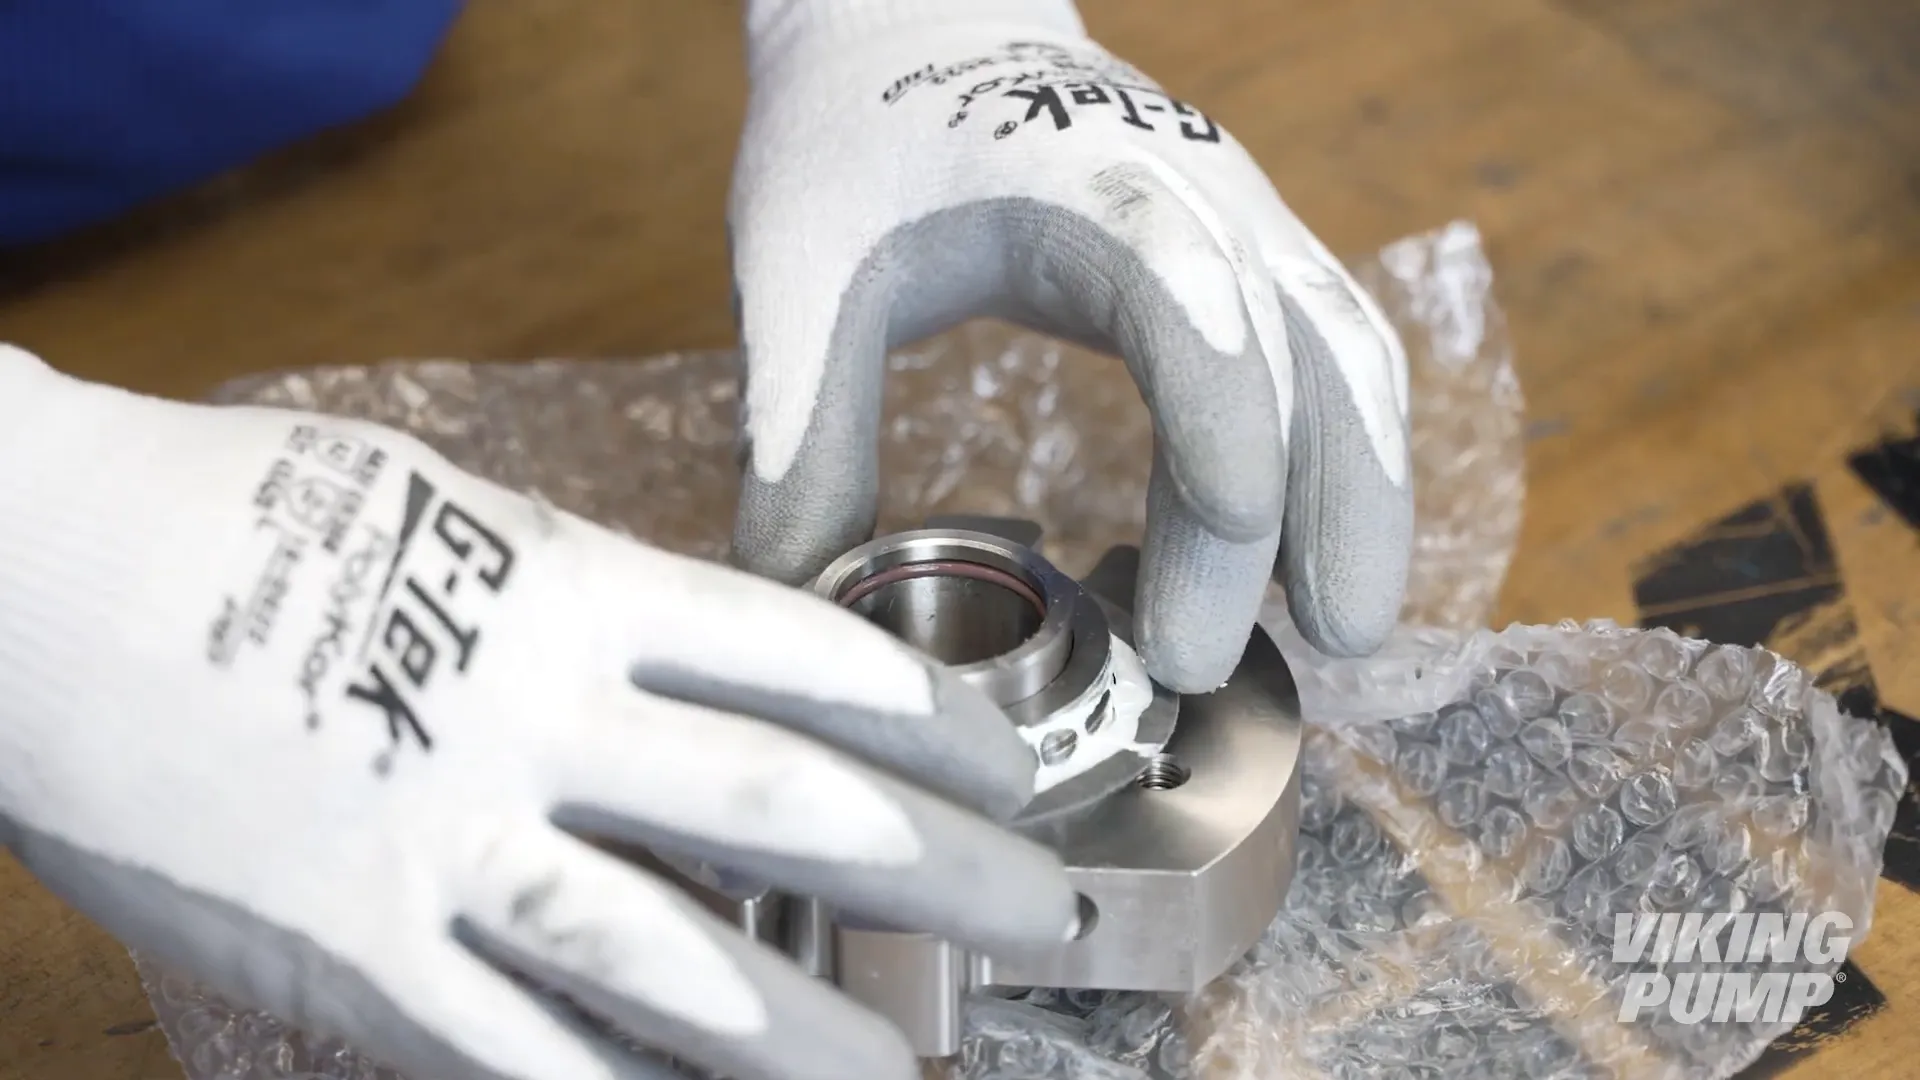
Once that’s done, install the sleeve into the gland to create the seal and gland assembly.
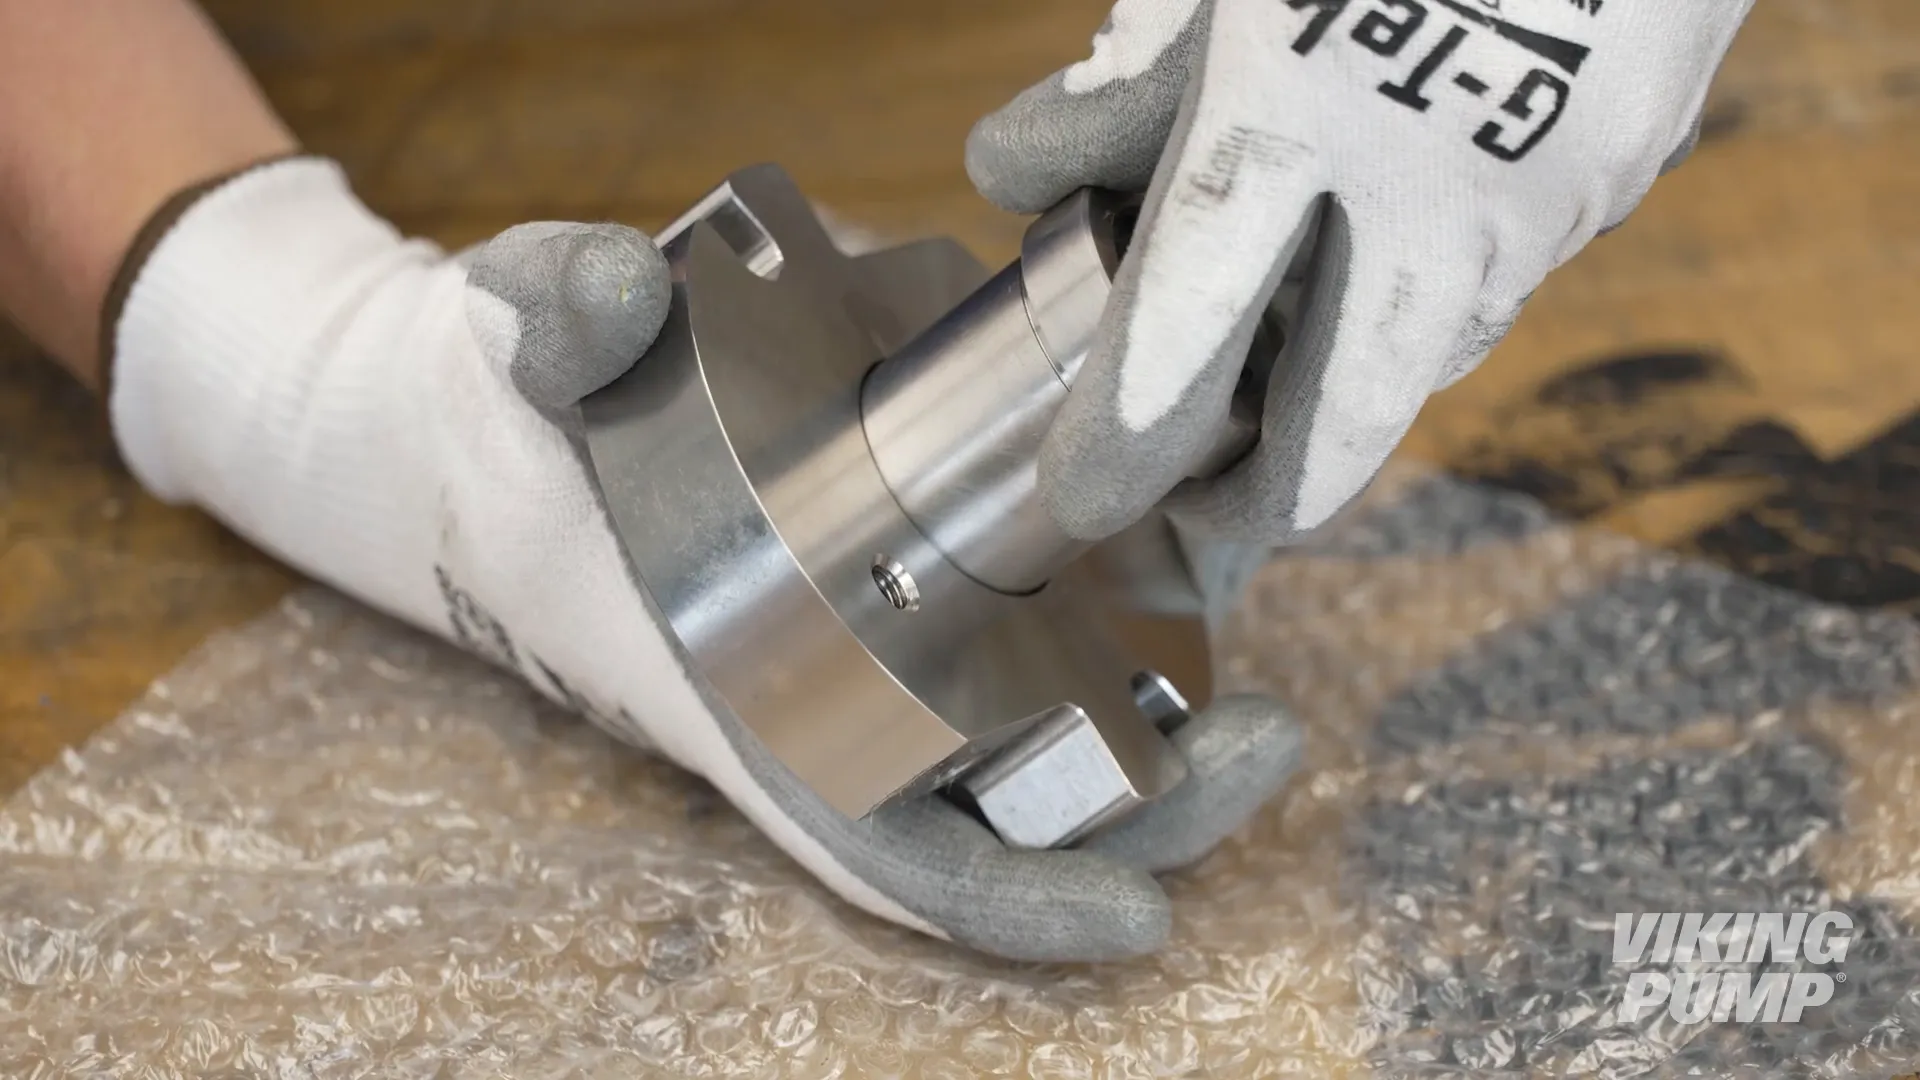
Apply gasket sealant to the O-Pro® Guard seal and place a gasket. Give the gasket a quarter turn and then flip it to ensure both sides have a continuous bead of sealant.
Step 3: Installing the Seal Assembly
Now, install the seal installation sleeve onto the shaft. Lubricate both the installation sleeve and the shaft, then tape the threads on the shaft to protect the O-rings during installation.
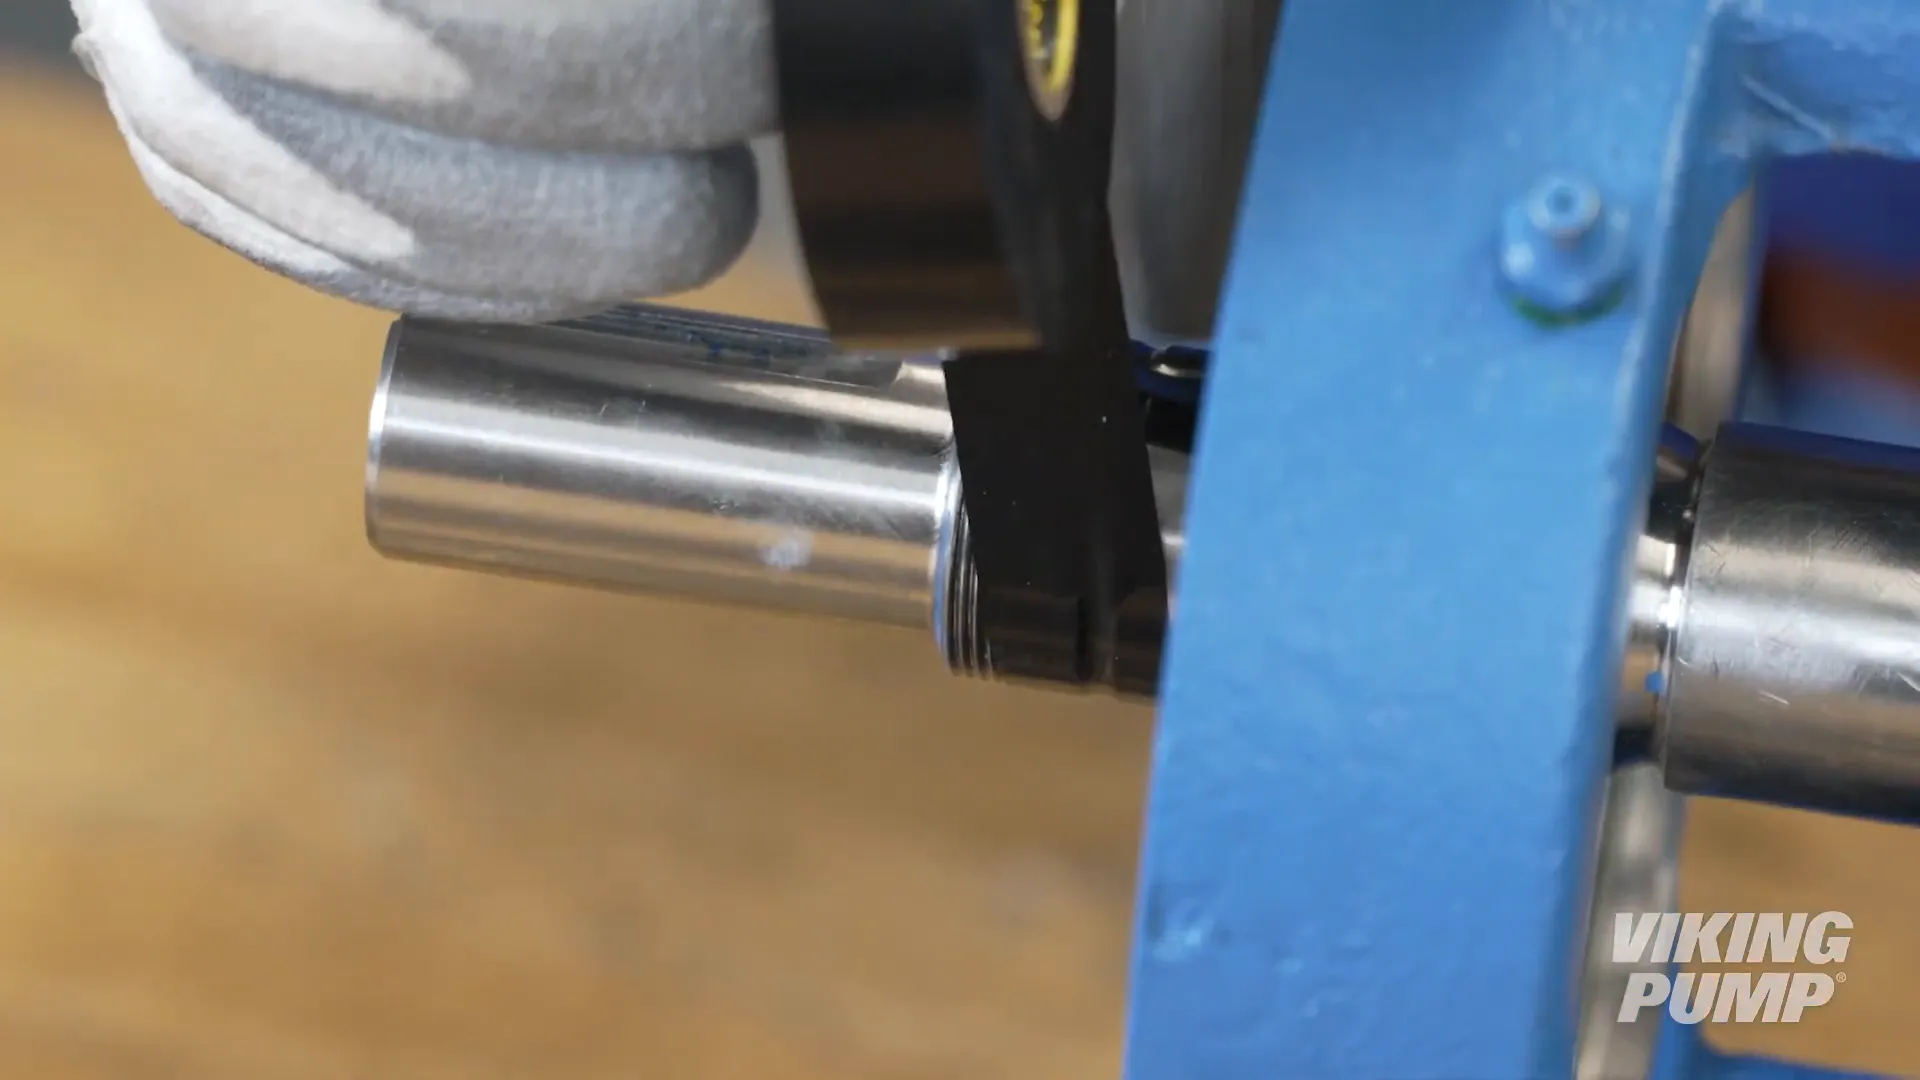
Install the seal assembly through the bearing housing onto the shaft, ensuring the gasket side is facing the bracket. Push it in until it is flush against the face of the bracket.

After that, remove the tape and the seal installation sleeve.
Next, install the bolts, washers, and nuts, and fully tighten them to secure the seal gland to the bracket.
Then, install the half-round rings and the bearing spacer collar over them. Follow this by reinstalling the bearing housing, tightening it fully until the shaft will not turn. This point is known as "zero end clearance."
Step 4: Finalizing the Installation
Now it’s time to install the lock washer by aligning the tab through the slot on the shaft. Then, install the lock nut. Again, place a brass or hardwood bar into the port opening to keep the pump from turning.
Torque the lock nut to the appropriate torque setting, which can be found in the technical service manual. Bend a tang of the lock washer into a slot of the lock nut. If no tang aligns, continue tightening the lock nut until one does. Failing to tighten the lock nut or engage the lock washer tab could result in early bearing failure and damage to the rest of the pump.
After that, remove the brass bar and set the end clearance. This setting can also be found in the technical service manual. Make sure to refer to our video on “Setting End Clearance” for detailed instructions on this procedure.
Next, ensure the O-Pro® Guard sleeve groove is flush with the face of the gland.

Tighten the three sleeve set screws evenly to ensure the sleeve is concentric with the shaft.
Step 5: Greasing and Final Checks
Turn the shaft to ensure the pump turns freely. Using thread sealant, install a grease fitting into the lowest hole in the seal gland. Add grease while slowly turning the pump shaft until grease begins to emerge from the open hole in the gland.
Install a pressure relief fitting into the gland and add additional grease to ensure all air pockets have been purged, and grease has exited the relief fitting.
Finally, reinstall the window guards. Ensure that the retaining washer is placed between the guard and bracket faces.
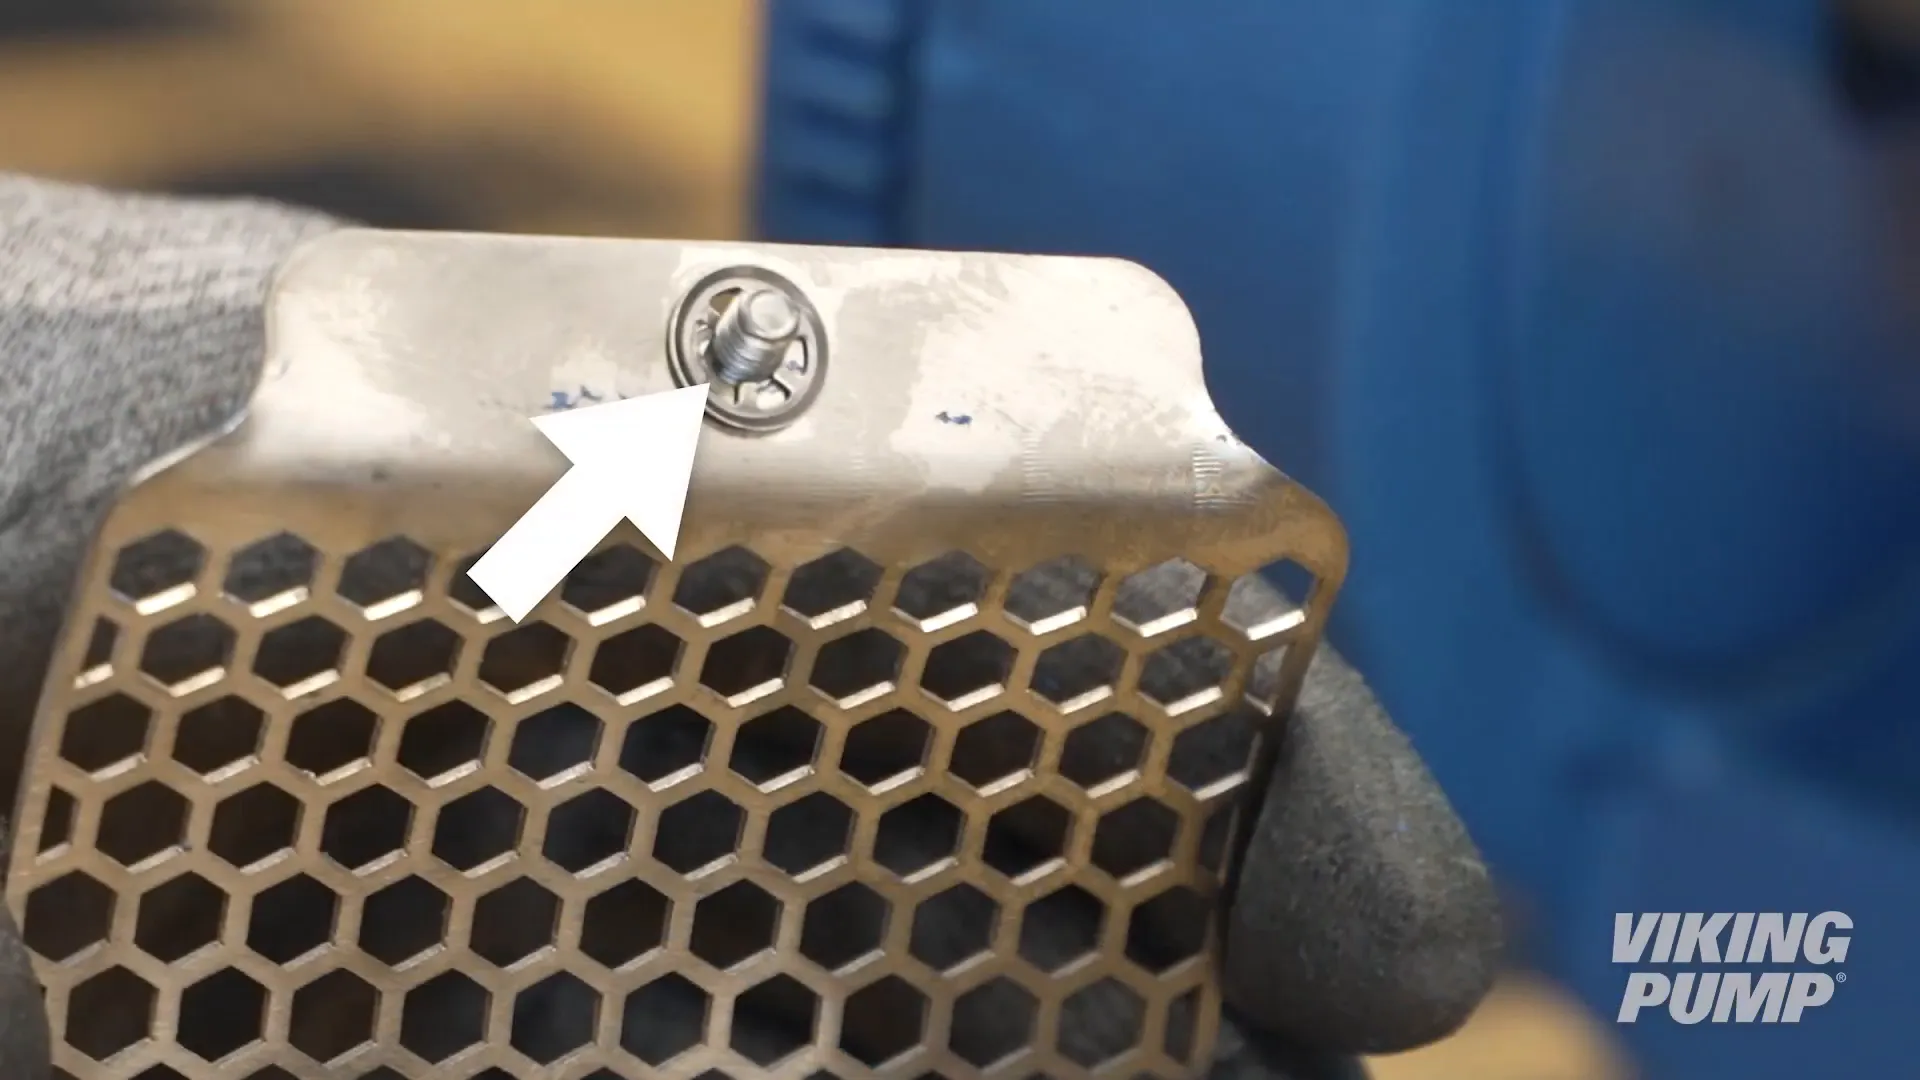
Modify the window guards as necessary to maintain access to the grease fitting and relief fitting. For more details, please refer to our video on “Modifying Window Guards.”
Lastly, grease the bearing housing until grease begins to appear around the lock washer. Congratulations! Your pump has now been successfully converted from packing to an O-Pro® Guard seal and is ready to be put back into service.
For over a century, Viking Pump has been the global leader in positive displacement pumping solutions, trusted by industries worldwide for their expertise, innovation, and reliability. With deep knowledge across a wide range of applications—from chemicals and coatings to food and fuel—Viking Pump delivers engineered solutions that keep processes flowing smoothly.