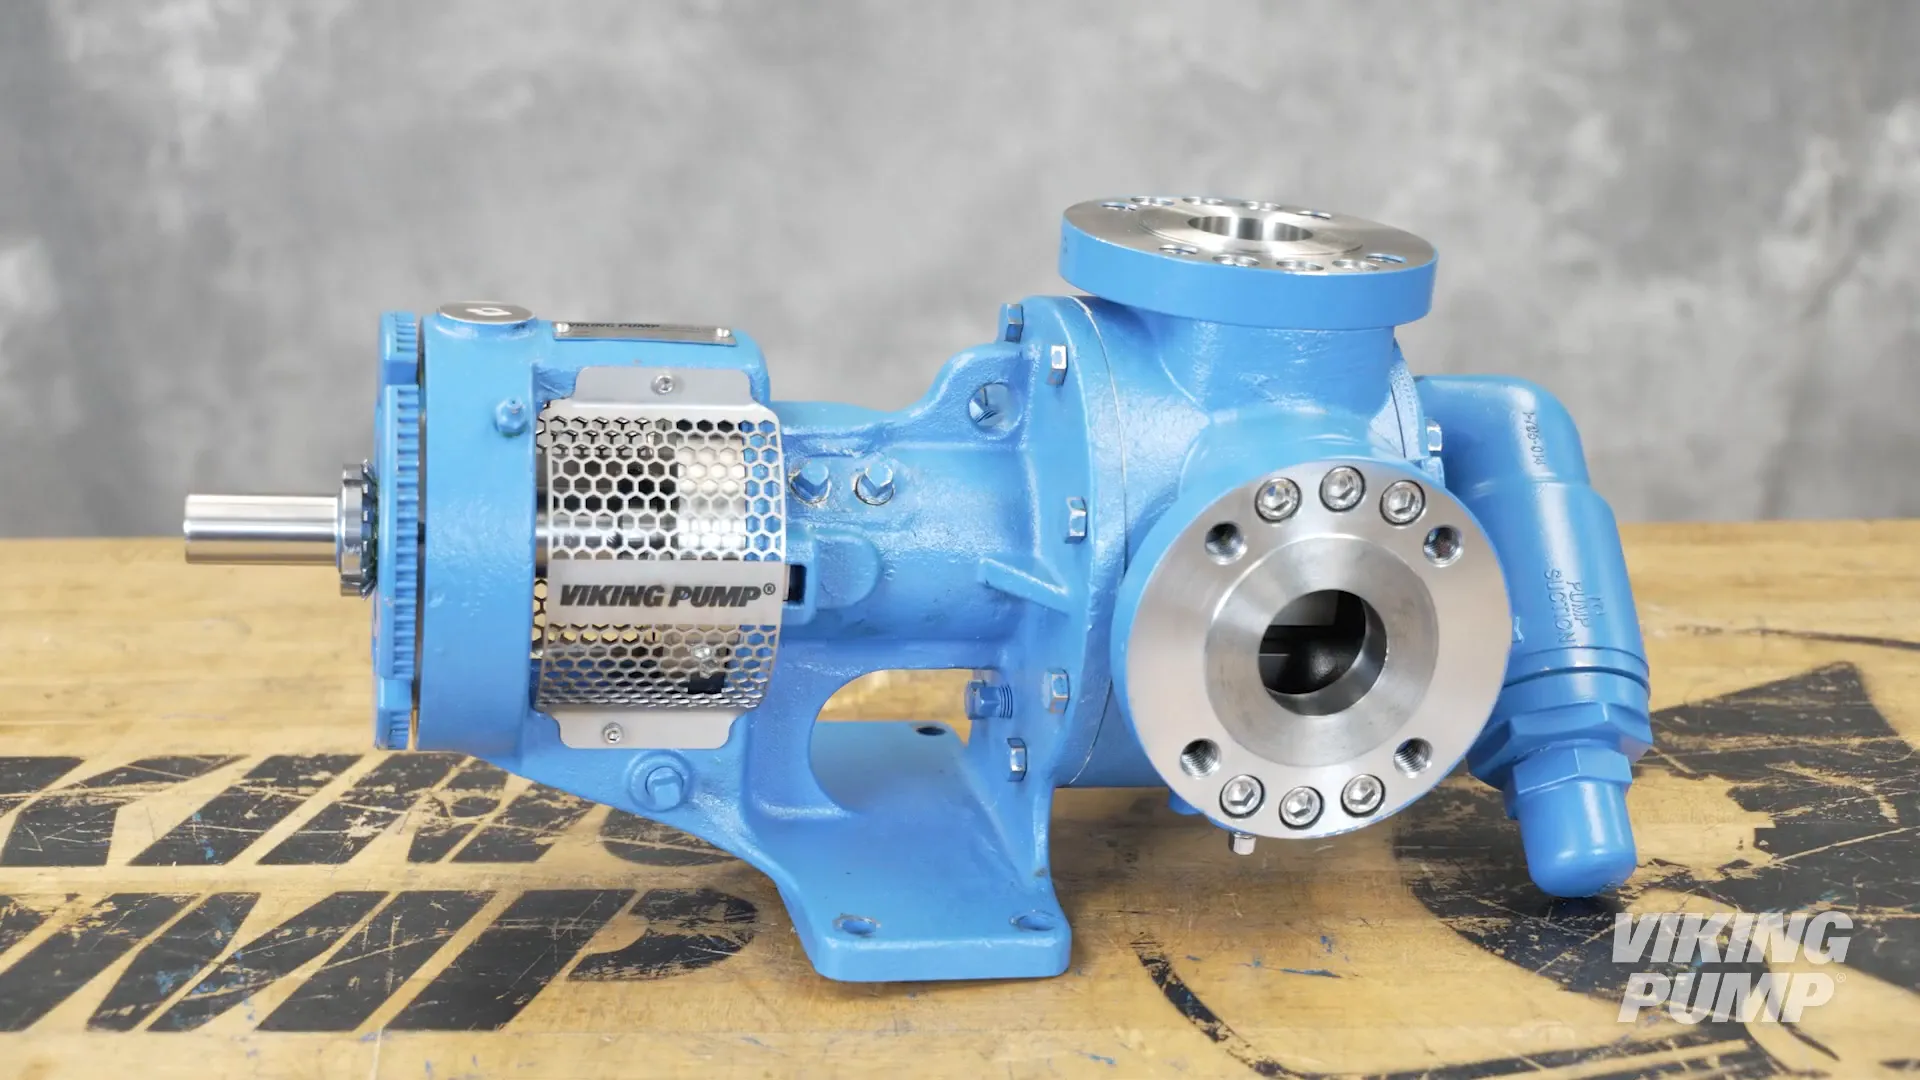
Quick Tip! Installing a Component Mechanical Seal in a Viking Pump with the U-Plus™ Bracket

Welcome, in this quick tip video we will guide you through the installation of a stuffing box component mechanical seal in Viking Pump’s with the U-Plus™ bracket. First, place the seal collar onto the shaft with the stepped side facing the end of the shaft. Insert a hex head wrench into the seal access hole and into a set screw to hold the seal collar in place. Install the seal installation sleeve with the taper toward the end of the shaft. Lubricate the shaft and inside of the rotary member of the seal.

Replacing a Component Mechanical Seal in Viking pump's with the U-Plus™ Bracket

Before you begin, please consult the appropriate technical service manual for safety information. A copy of the latest revision can be found on our website at vikingpump.com. 
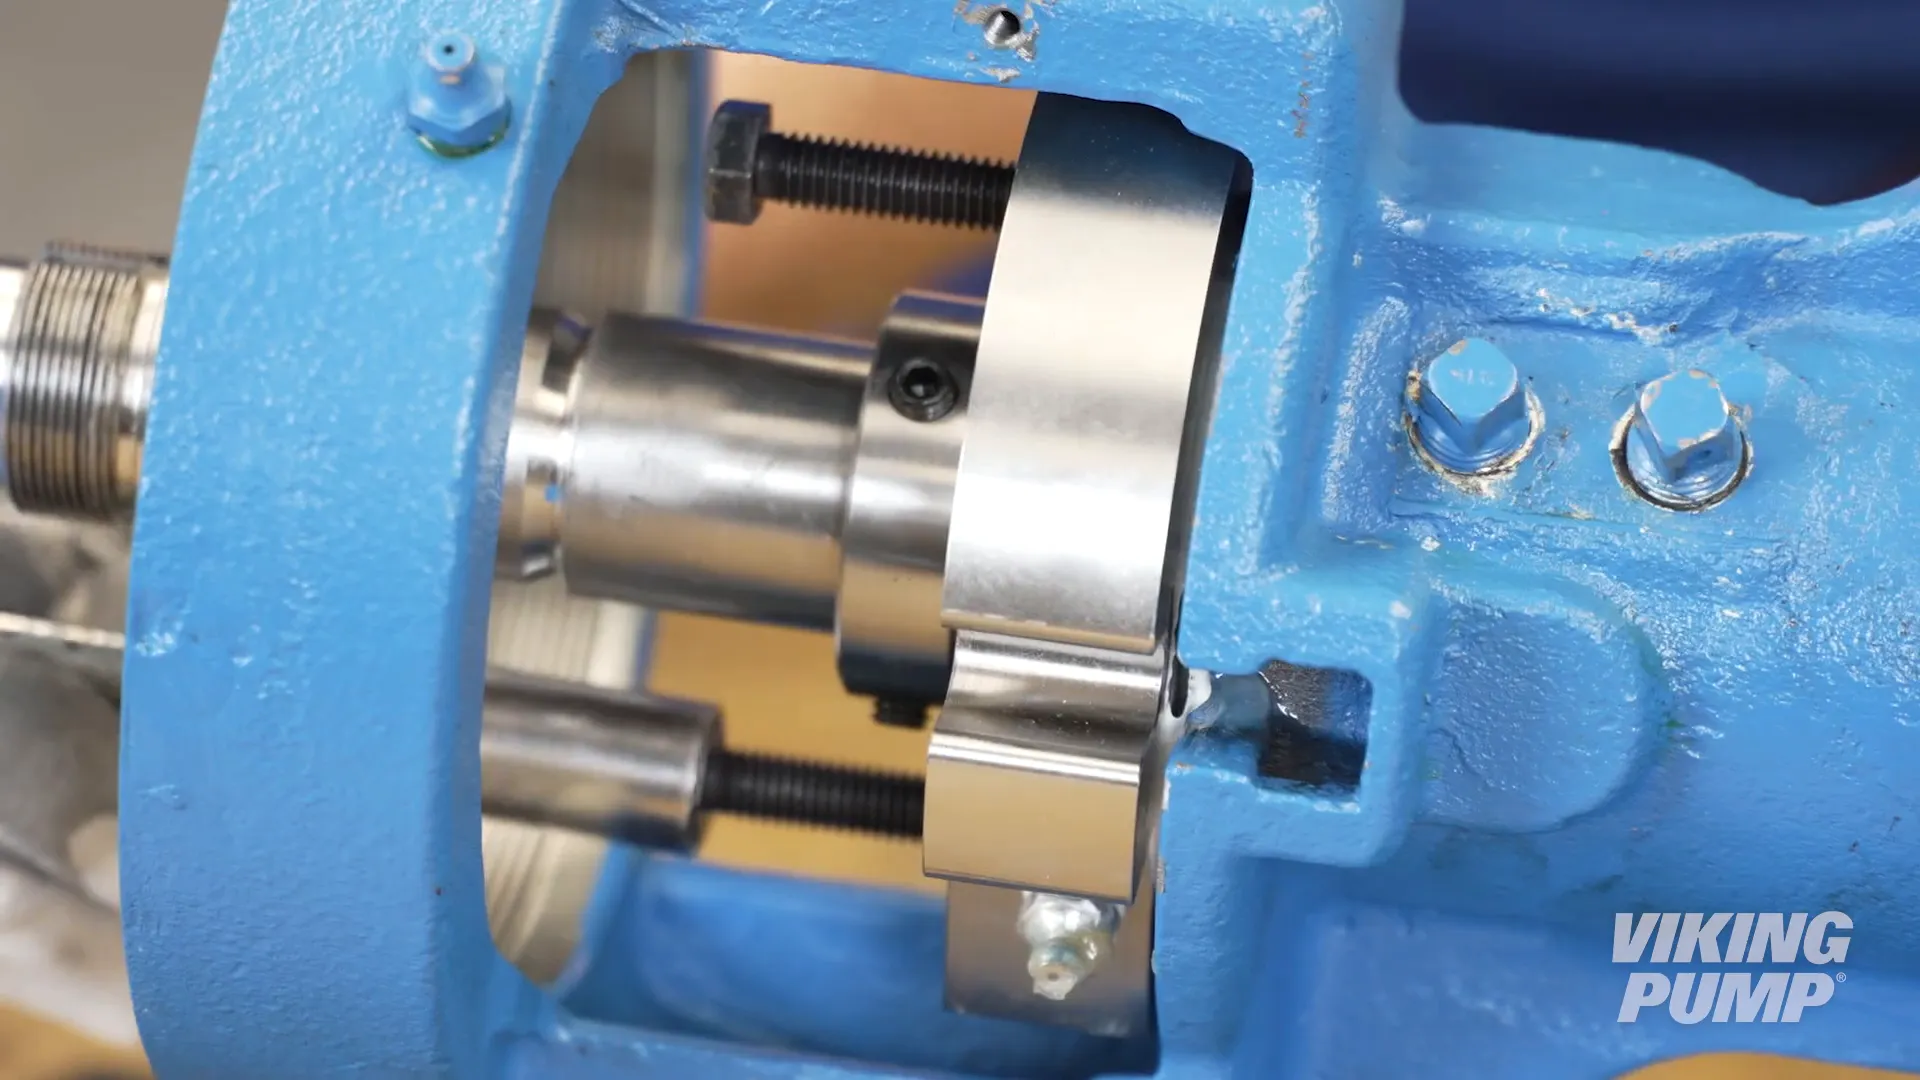
To begin, bend up the tang of the lock washer. Place a brass or hardwood bar into the port opening to keep the pump from turning. Loosen and remove the locknut. Remove and discard the lock washer. Loosen the bearing housing set screws. Loosen and remove the bearing housing. Remove the bearing spacer collar. The collar may have come out the bearing housing. Remove the half round rings.

How to replace packing in pumps with the U-Plus™ bracket

Welcome, in this video we will guide you through the replacement of packing in Viking pumps with the U-Plus™ bracket. This video applies to these pump models… Before you begin, please consult the appropriate technical service manual for safety information. A copy of the latest revision can be found on our website at vikingpump.com. To begin, remove the stainless steel window guards from the bracket. Next, bend up the tang of the lock washer. Place a brass or hardwood bar into the port opening to keep the pump from turning. Loosen and remove the locknut. Remove and discard the lock washer.

Quick Tip! Installing a seal into an RTPg Series™ truck pump

Welcome, in this quick tip video we will guide you through the installation of a double lip seal in an RTPg Series™ truck pump. This video applies to these pump models… To begin, place a new lip seal with the flat side up into the seal holder. Using an arbor press and a press fixture large enough to cover the seal, press in the seal until it is fully seated. Next, place the second lip seal with the flat side up into the seal spacer and press in the seal. Using your thumbs, press in the lip seal and spacer assembly into the seal holder. Make sure the lip seal is facing up.

How mechanical seals work in pumps

Mechanical seals are extremely common in the pumping industry - and come in a wide range of materials and options. In its simplest form, a single component mechanical seal has two faces that contact and create a seal. These seal faces are lapped to a smooth, high quality finish. One face rotates with the pump shaft - while the other is held stationary in the pump housing. Once a small amount of process liquid reaches the seal faces, a hydrodynamic liquid film is created - this is what forms the seal and lubricates the faces.

new modular pump with fresh guard seal installed

Converting from Packing to the O-Pro® Guard Seal in Viking Pumps

Search Description

Learn how to efficiently convert your Viking Pump from packing to the innovative O-Pro® Guard seal. Step-by-step guide with essential tips inside!

Categories

For decades, Viking Pump's Universal product line has been capable of switching between many different seal types. In this article, we'll cover the basic steps for converting your pump from packing to Viking Pump's O-Pro® Guard seal.

Before you begin, please consult the appropriate technical service manual for safety information.


Step 1: Disassembling the Pump

Start by removing the stainless-steel window guards from the bracket.

close up of an o-pro guard seal

Gear Pump Repair: A Comprehensive Guide to Replacing O-Rings in O-Pro® Guard Seals

Search Description

Discover a comprehensive guide to replacing O-rings in O-Pro® Guard seals for gear pumps. Follow our step-by-step instructions for a successful repair.

Categories

When it comes to internal gear pump repair, pumps with the O-Pro® Guard seal are straight forward. This article will walk you through easy to follow steps for replacing o-rings in an O-Pro® Guard seal specifically designed for pumps with the U-Plus™ bracket. 

As always, before any work begins - make sure to read and reference the technical service manual for your pump. A copy of the latest revision can be found on the Viking Pump website.


Viking Pump patent for mag drive technology

Universal Mag Drive, The Sealless Upgrade That Prevents Leakage and Fugitive Emissions

Search Description

Viking Pump invented, patented and manufactured the very first sealless mag drive rotary positive displacement (PD) pumps in the world, and developed several series over time for different applications, including the first generation 825, 895 and 855 ™ internal gear pumps.

Of these first generation mag drive pumps, all had different footprints from their dynamically-sealed cousins with...

How Pump Packing Works - Animation

Packing is one of the most common and simplest seals for positive displacement pumps. Packing consists of braided or formed rings that are compressed inside the stuffing box of a pump. As the packing gland is tightened, the packing is compressed against the shaft and the inside of the stuffing box bore - creating a seal. When the pump is operating, process liquid cools and lubricates the packing. The pump must leak or "weep" slightly to ensure proper lubrication. Packing is one of the oldest forms of shaft sealing. Original packing was made of materials such as leather or rope.

Quick Tip: How to install an O-Pro® Cartridge seal into a Viking pump

Welcome, in this video quick tip video we will guide you through the installation of Viking Pump’s O-Pro® Cartridge seal into a pump with the U-Plus™ bracket. Before installing the new seal, ensure the shaft is free of any debris or wear any burrs can damage o-rings upon installation. First, prepare the O-Pro® Cartridge seal for installation. Lubricate and install the two internal o-rings into the O-Pro® cartridge seal gland. Apply gasket sealant to the O-Pro® Cartridge and place a gasket. Give the gasket a quarter turn and then flip, to ensure both sides have a continuous bead of sealant.