When it comes to internal gear pump repair, pumps with the O-Pro® Guard seal are straight forward. This article will walk you through easy to follow steps for replacing o-rings in an O-Pro® Guard seal specifically designed for pumps with the U-Plus™ bracket.
As always, before any work begins - make sure to read and reference the technical service manual for your pump. A copy of the latest revision can be found on the Viking Pump website.
Anatomy of the O-Pro® Guard Seal
The O-Pro® Guard seal is a cartridge-style seal that uses o-rings for maintaining a grease barrier between the outside environment and the liquid being pumped. It helps prevent leaks and and enhanced shaft wear resistance. Listed below are the key components of the O-Pro® Guard seal.
- Seal sleeve: This component fits inside of the O-Pro® Guard seal gland and protects the shaft from o-ring induced wear.
- Seal gland: This is the main component of the seal assembly and houses the grease barrier, o-rings, and seal sleeve.
- O-rings: These rings can provide the necessary sealing to prevent process liquid leaks. There are two sets of internal o-rings (sleeve and gland). These can come in different materials depending on process needs.
- Fiber gasket: This creates an additional seal between the seal gland and bracket faces.
- Grease fitting: This is a piece of hardware the allows grease to be pumped in between the internal o-rings to create the grease barrier.
- Grease relief fitting: This hardware ensures that the seal is not over-greased/over pressurized.
Step-by-Step Guide to Replacing O-Rings in an O-Pro® Guard Seal
The following steps will guide you through the process of replacing the O-rings in the O-Pro® Guard seal.
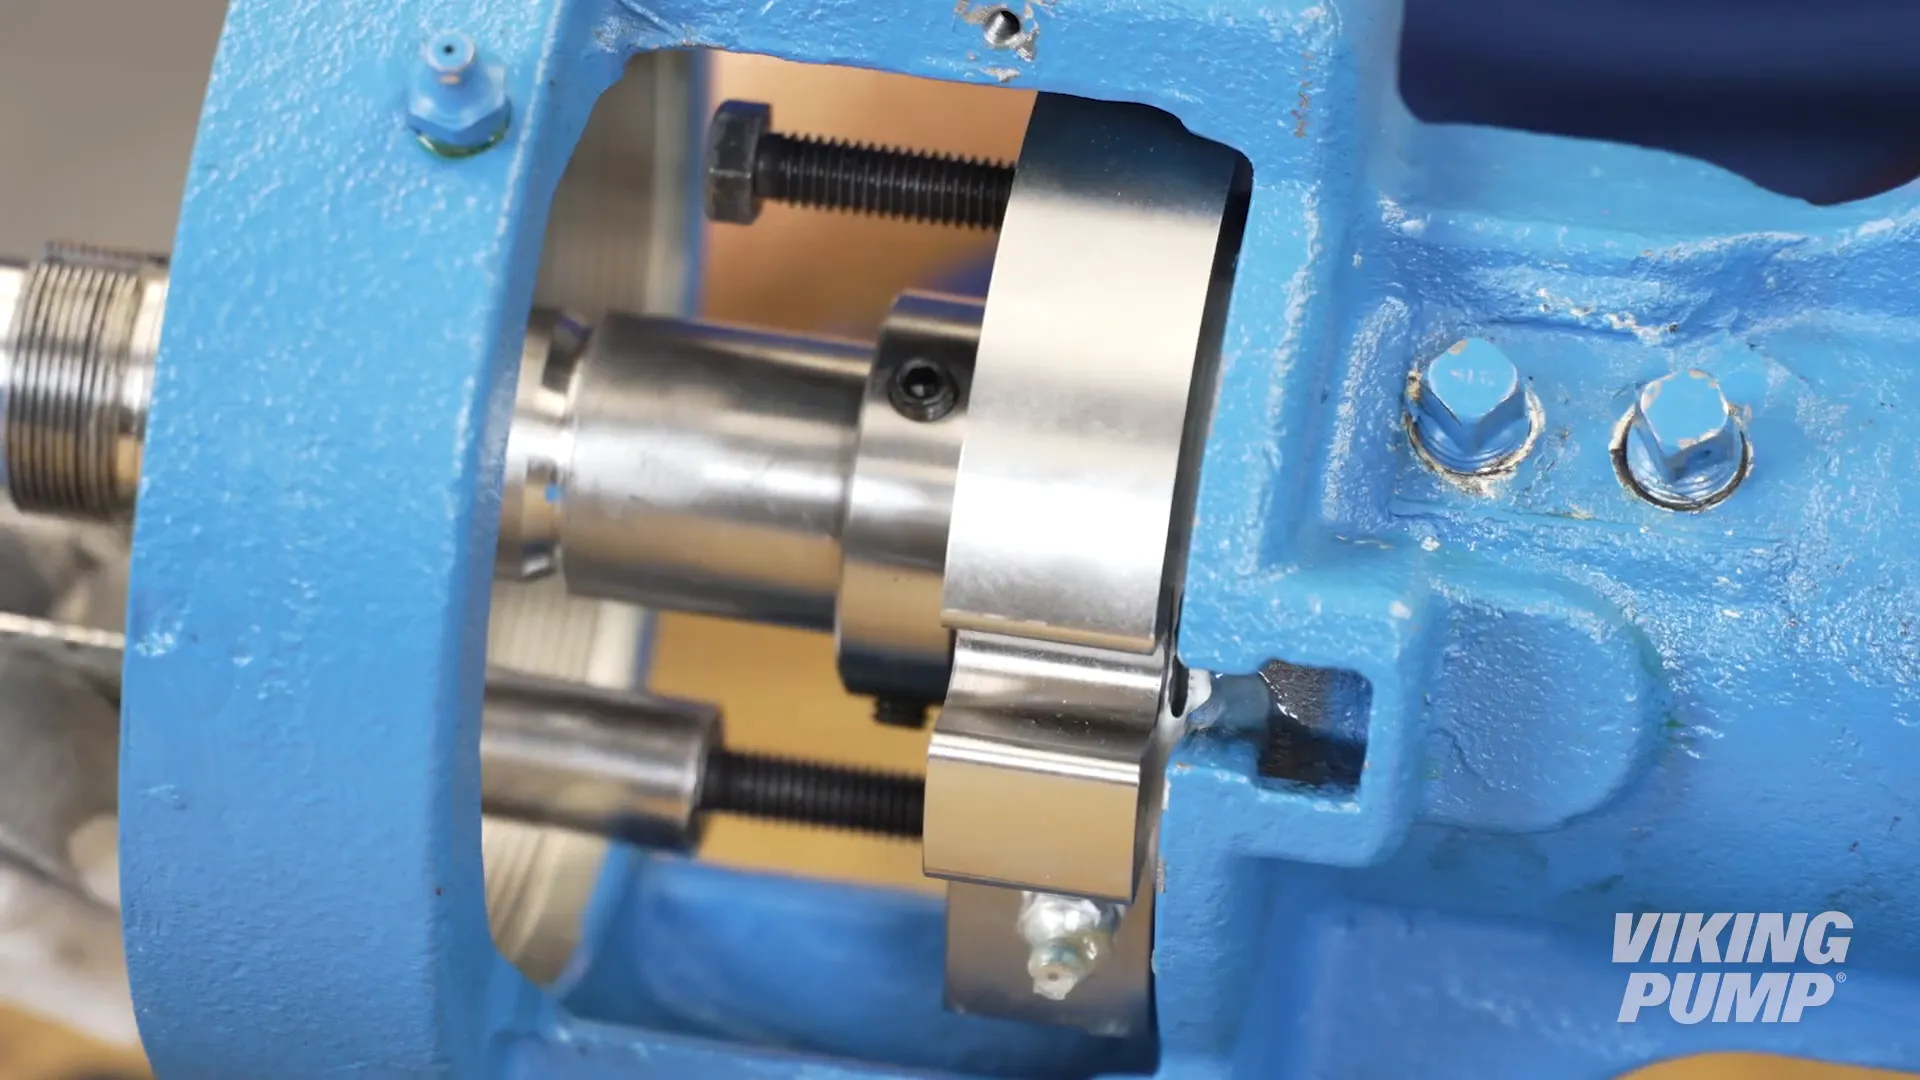
1. Remove the bearing housing to access the seal
Place a brass or hardwood bar into the port opening to prevent the pump from turning. Once the pump gears are immobilized, follow these steps:
- Bend up the tang of the lock washer.
2. Loosen and remove the lock nut, then discard the lock washer.
3. Loosen the bearing housing set screws and remove the bearing housing.
4. Remove the bearing spacer collar, which may come out with the bearing housing.
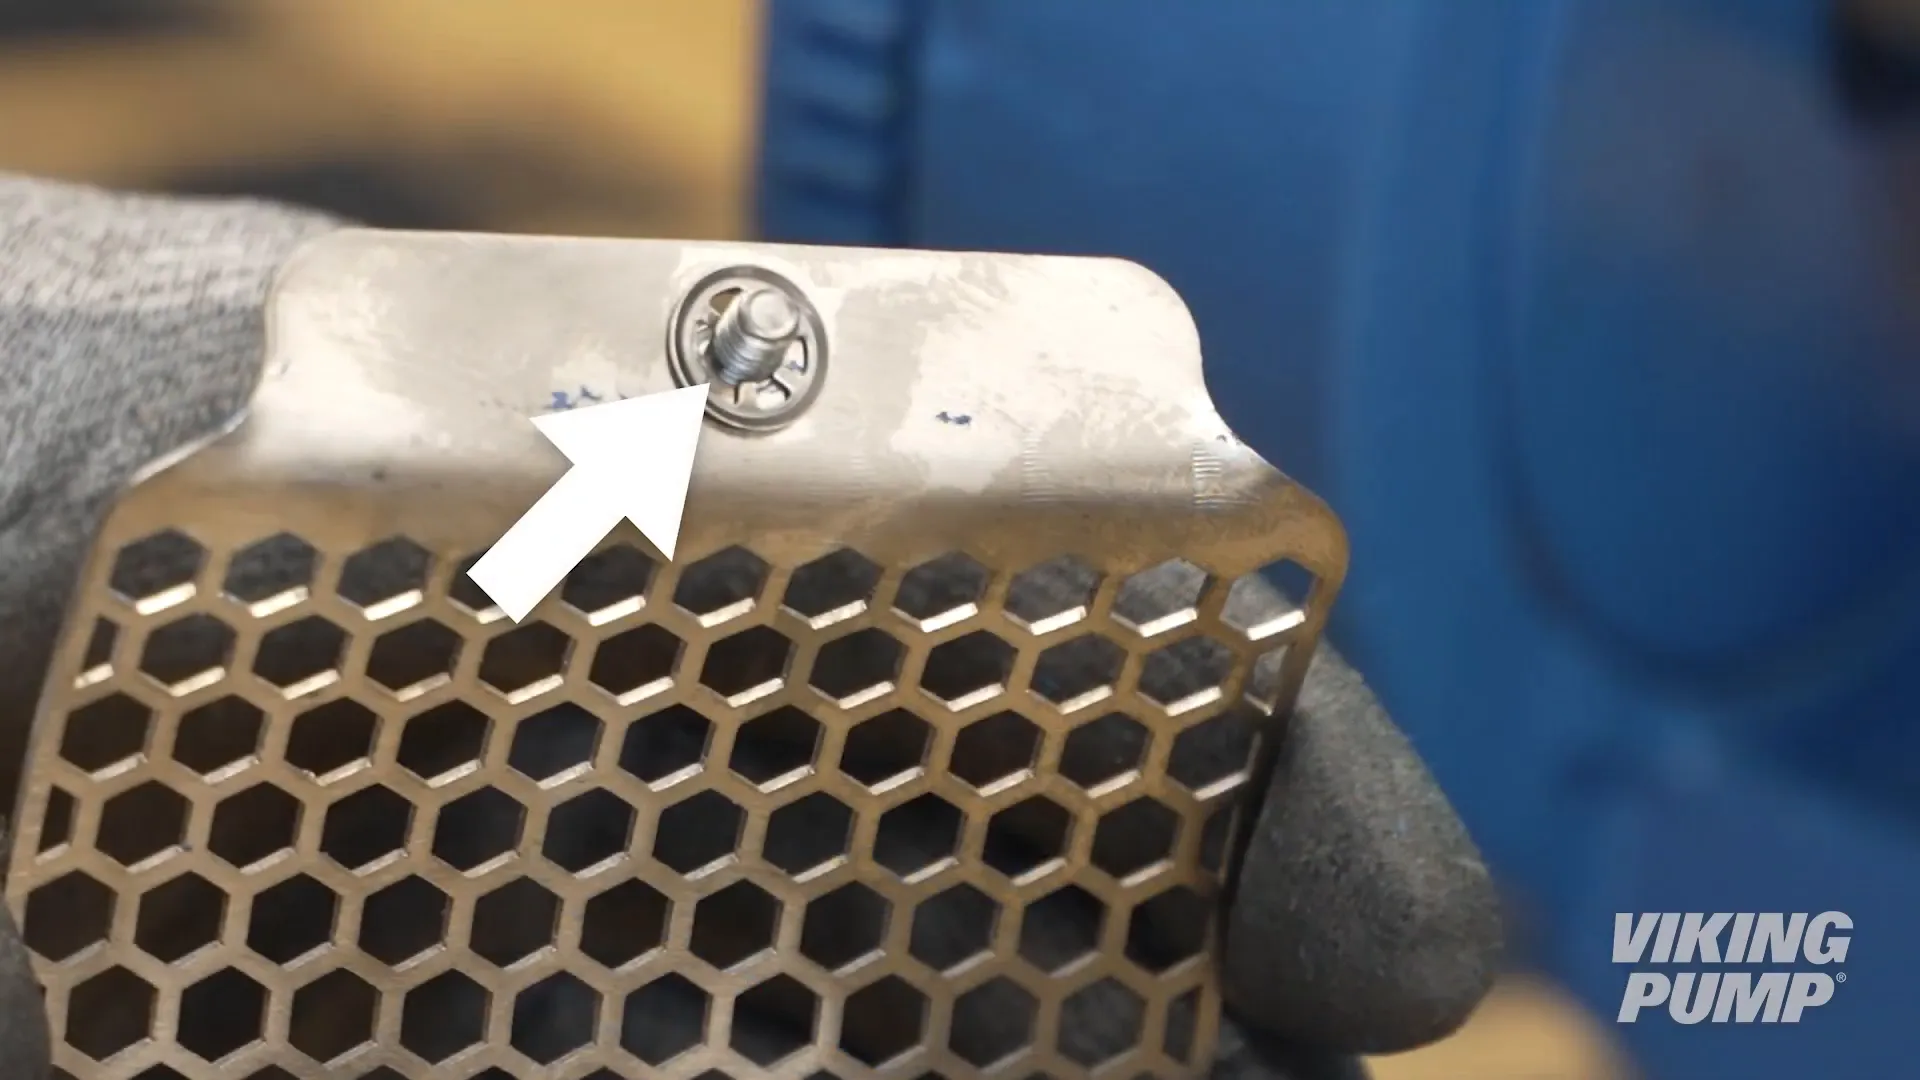
5. Take out the half-round rings and remove the stainless steel window guards from the bracket.
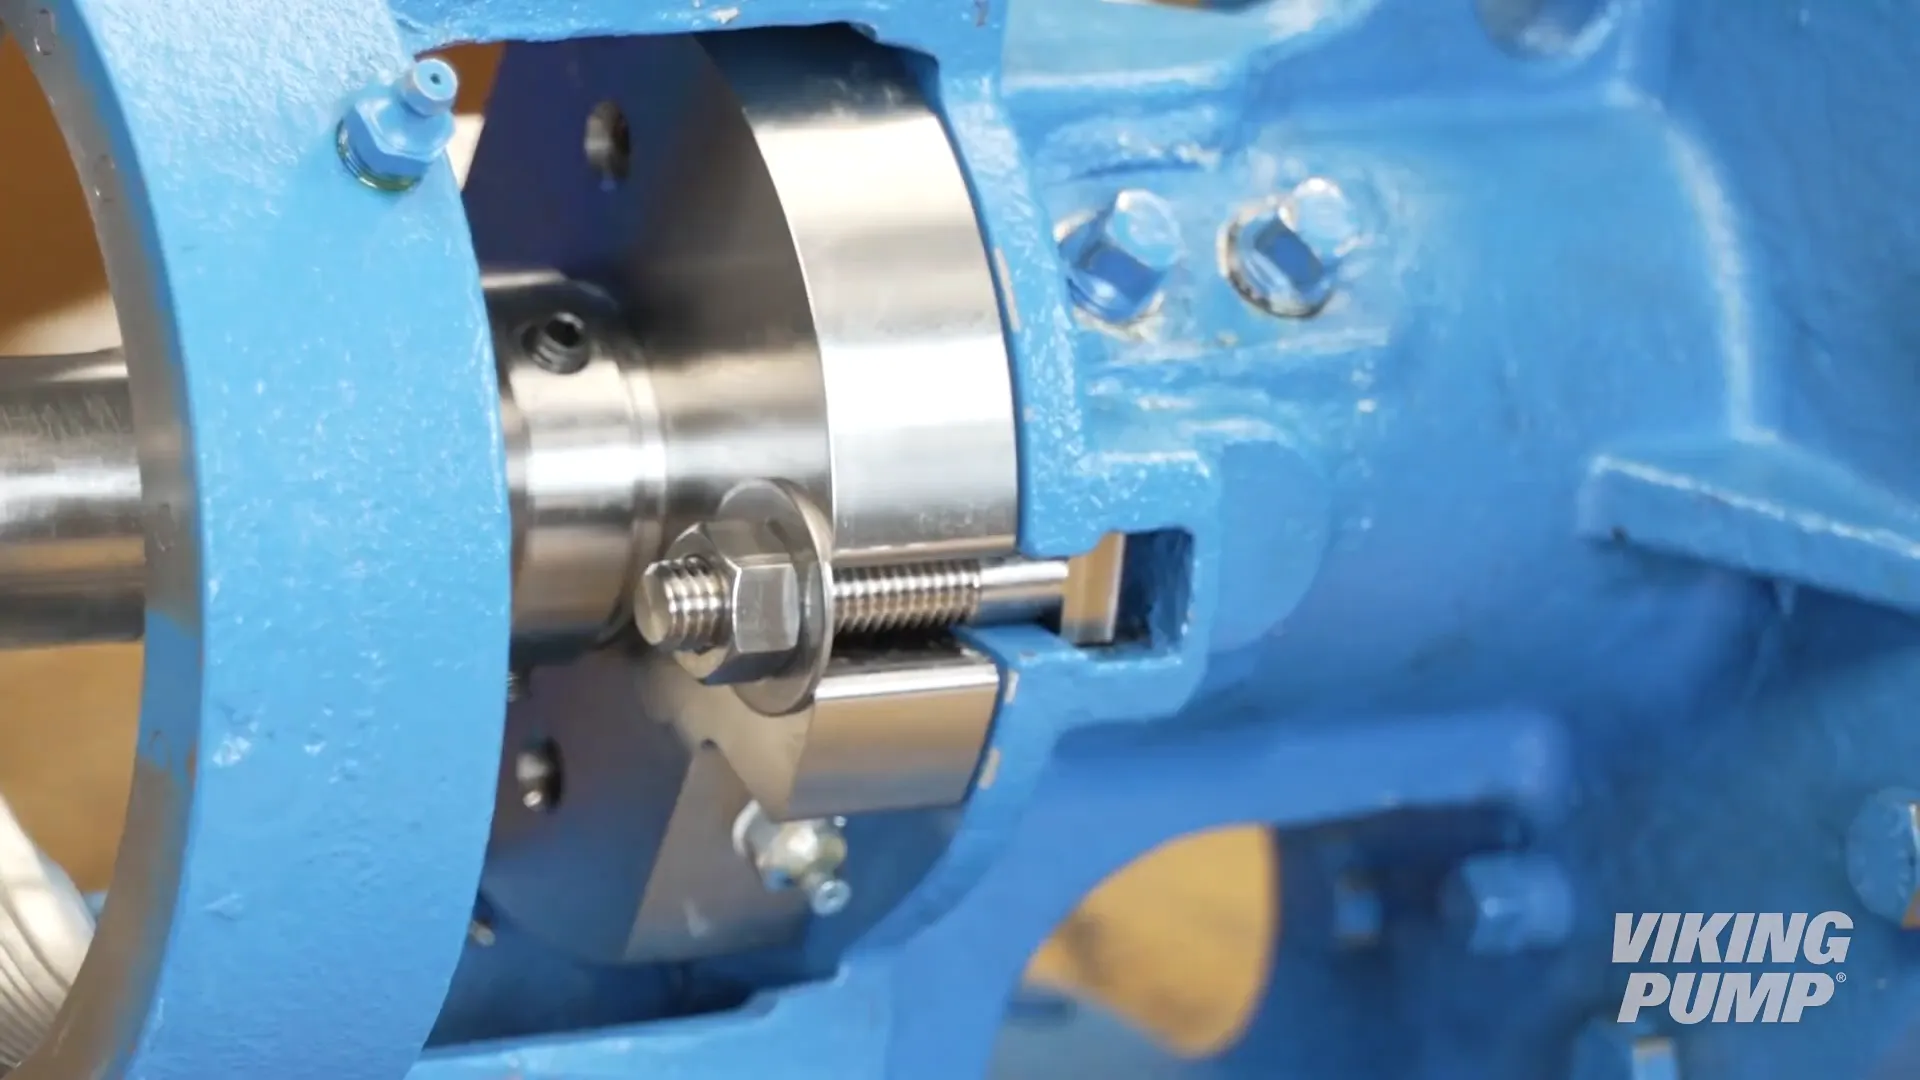
2. Remove the Seal Gland
Next, you’ll need to remove the seal gland:
- Loosen the set screws on the seal sleeve to free it from the shaft.
- Loosen and remove the two nuts holding the seal gland to the pump.
- Remove the washers and bolts.
- There are two jack bolt holes at the 6 and 12 o’clock positions; thread jack bolts into these holes to assist with removing the seal gland.
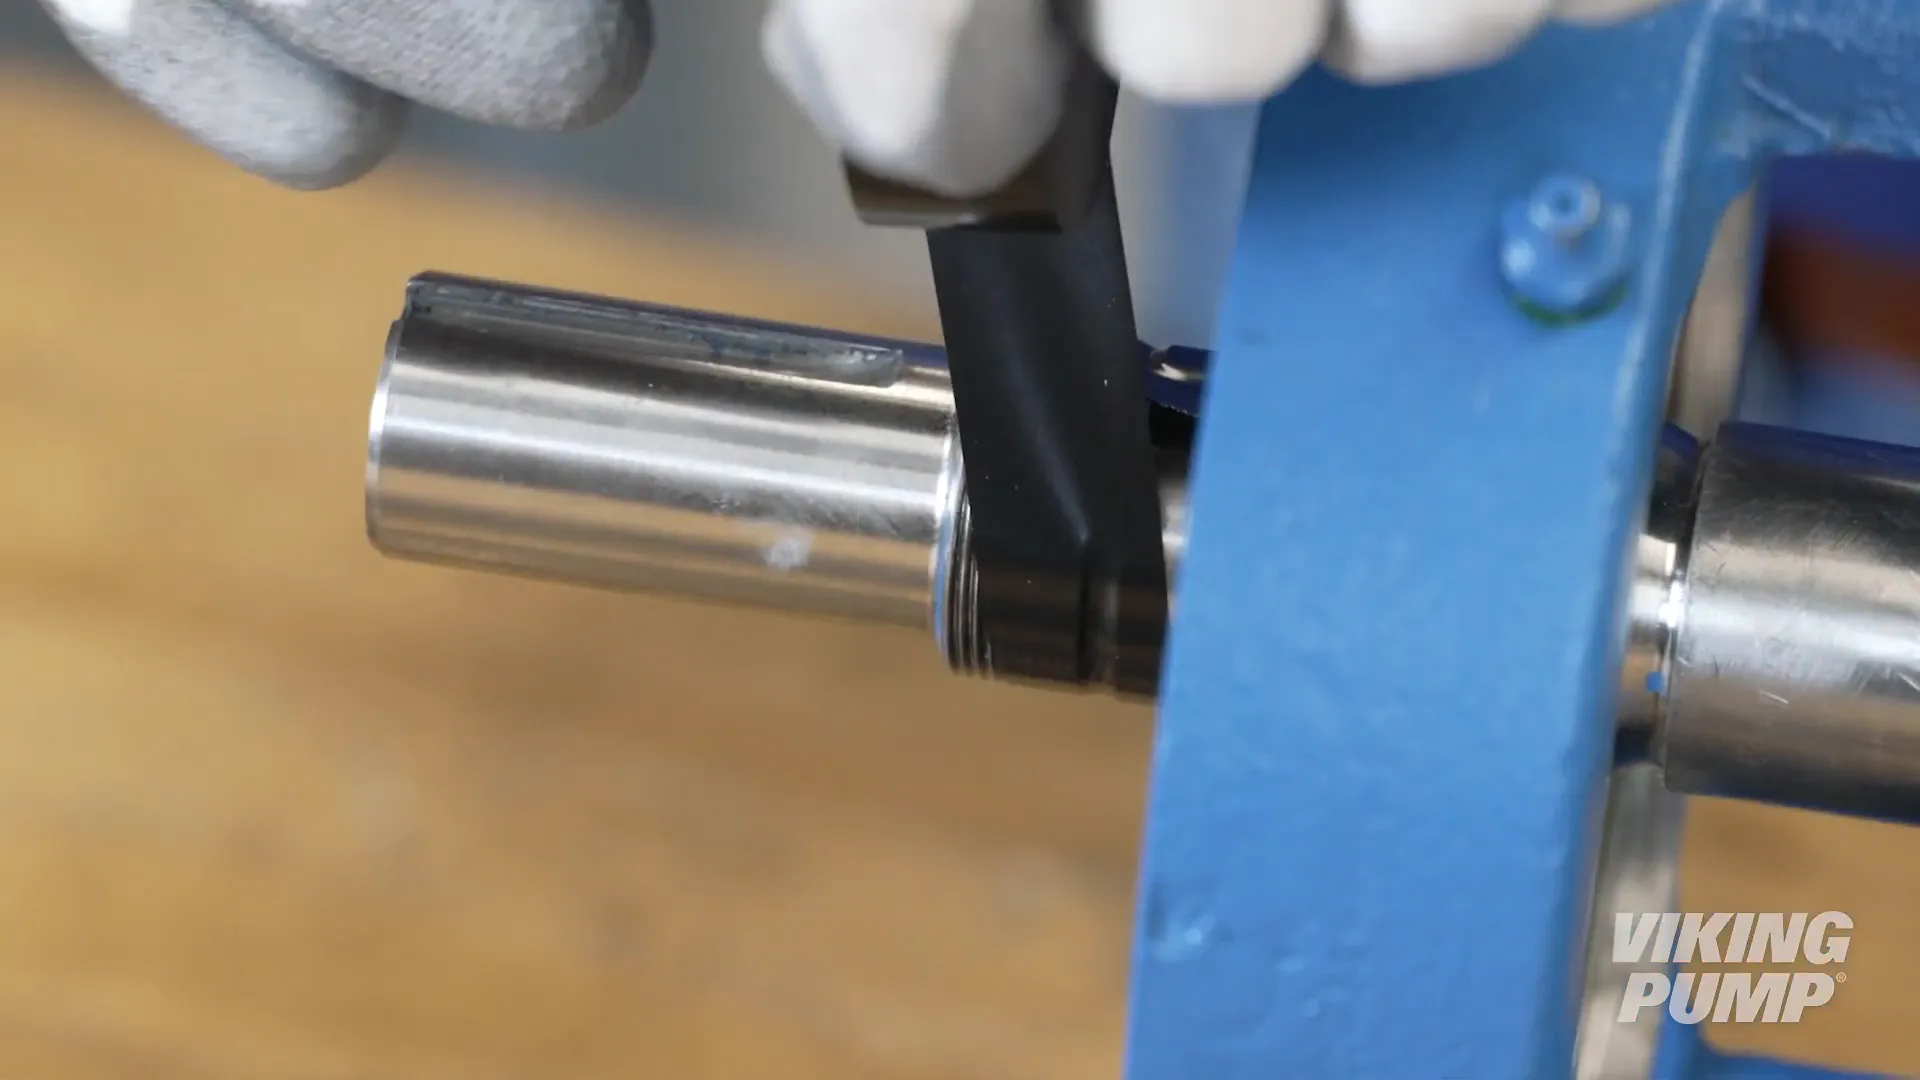
3. Clean the Components
Before installing the new o-rings, ensure that the seal sleeve and gland are clean and free from any damage. Replace the sleeve if necessary. It’s essential to check the shaft as well. Ensure the shaft is free of debris or wear becayse any burrs can damage the o-rings upon installation.
4. Installing New O-Rings into the Seal Gland
Now it’s time to prepare the O-Pro® Guard seal for installation:
- Lubricate and install the two internal O-rings into the sleeve.
2. Next, lubricate and install the two internal O-rings into the O-Pro® Guard seal gland.
3. Install the sleeve into the gland to create the seal and gland assembly.
5. Installing the Seal Gland onto the Shaft
Once the o-rings are in place, apply gasket sealant to the O-Pro® Guard seal and place a gasket:
- Give the gasket a quarter turn and then flip it to ensure both sides have a continuous bead of sealant.
- Install the seal installation sleeve onto the shaft, lubricating both the sleeve and shaft.
- To protect the O-rings during installation, tape the threads on the shaft.
Next, install the seal assembly through the bearing housing onto the shaft:
4. Ensure that the gasket side is facing the bracket.
5. Install until it is flush against the face of the bracket, then remove the tape and seal installation sleeve.
6. Install the bolts, washers, and nuts, fully tightening to secure the seal gland to the bracket. DO NOT tighten the sleeve set screws at this time.
6. Reassembling the Pump
Once the seal assembly is in place, it's time to reassemble the pump:
- Install the half-round rings back into place.
- Place the bearing spacer collar over the half-round rings.
- Install the bearing housing and fully tighten until the shaft will not turn. This point is known as zero end clearance.
- Install the lock washer by aligning the tab through the slot on the shaft.
- Install the lock nut and torque it to the appropriate setting, as found in the technical service manual.
- Bend a tang of the lock washer into a slot of the lock nut. If no tang aligns, continue tightening until one does.
Remove the brass bar and set the end clearance according to the manual. Watch this video for tips on setting end clearance.
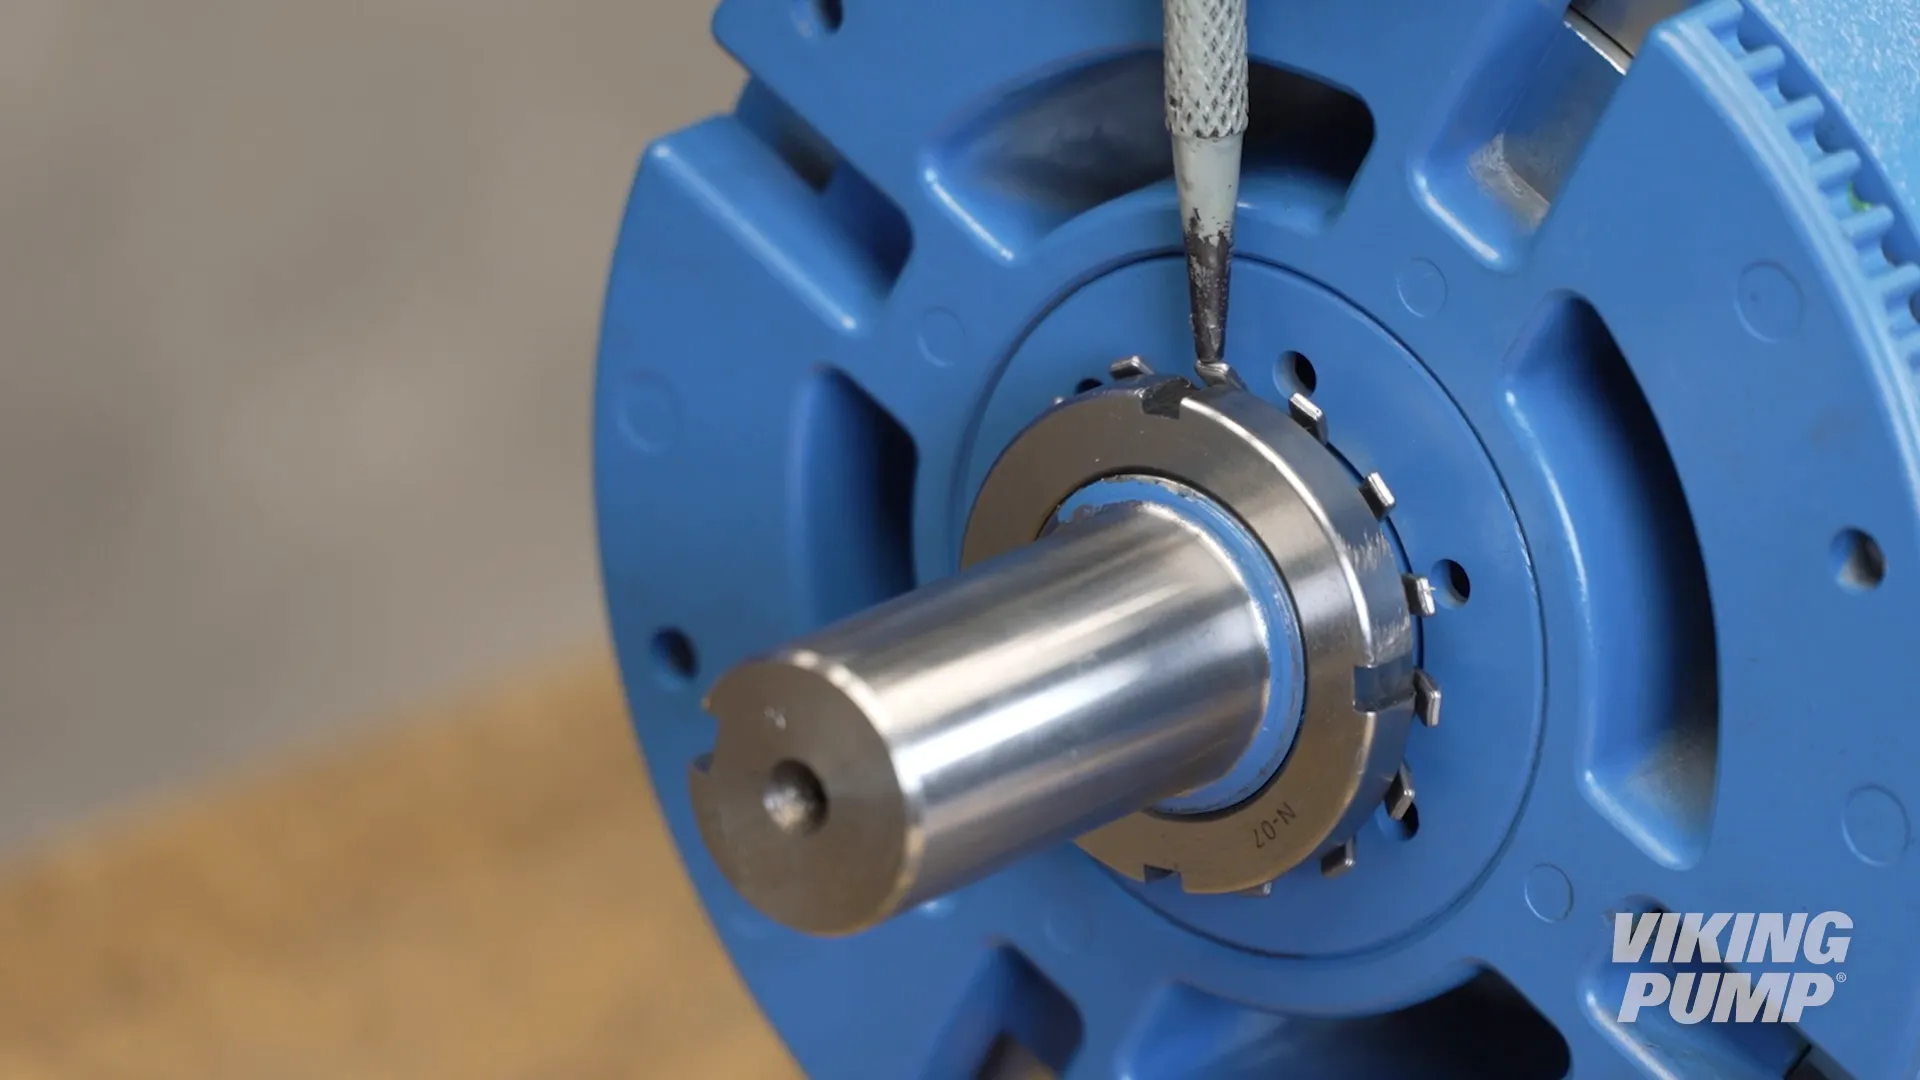
7. Setting the Seal
- Ensure the O-Pro® Guard sleeve groove is flush with the face of the gland.
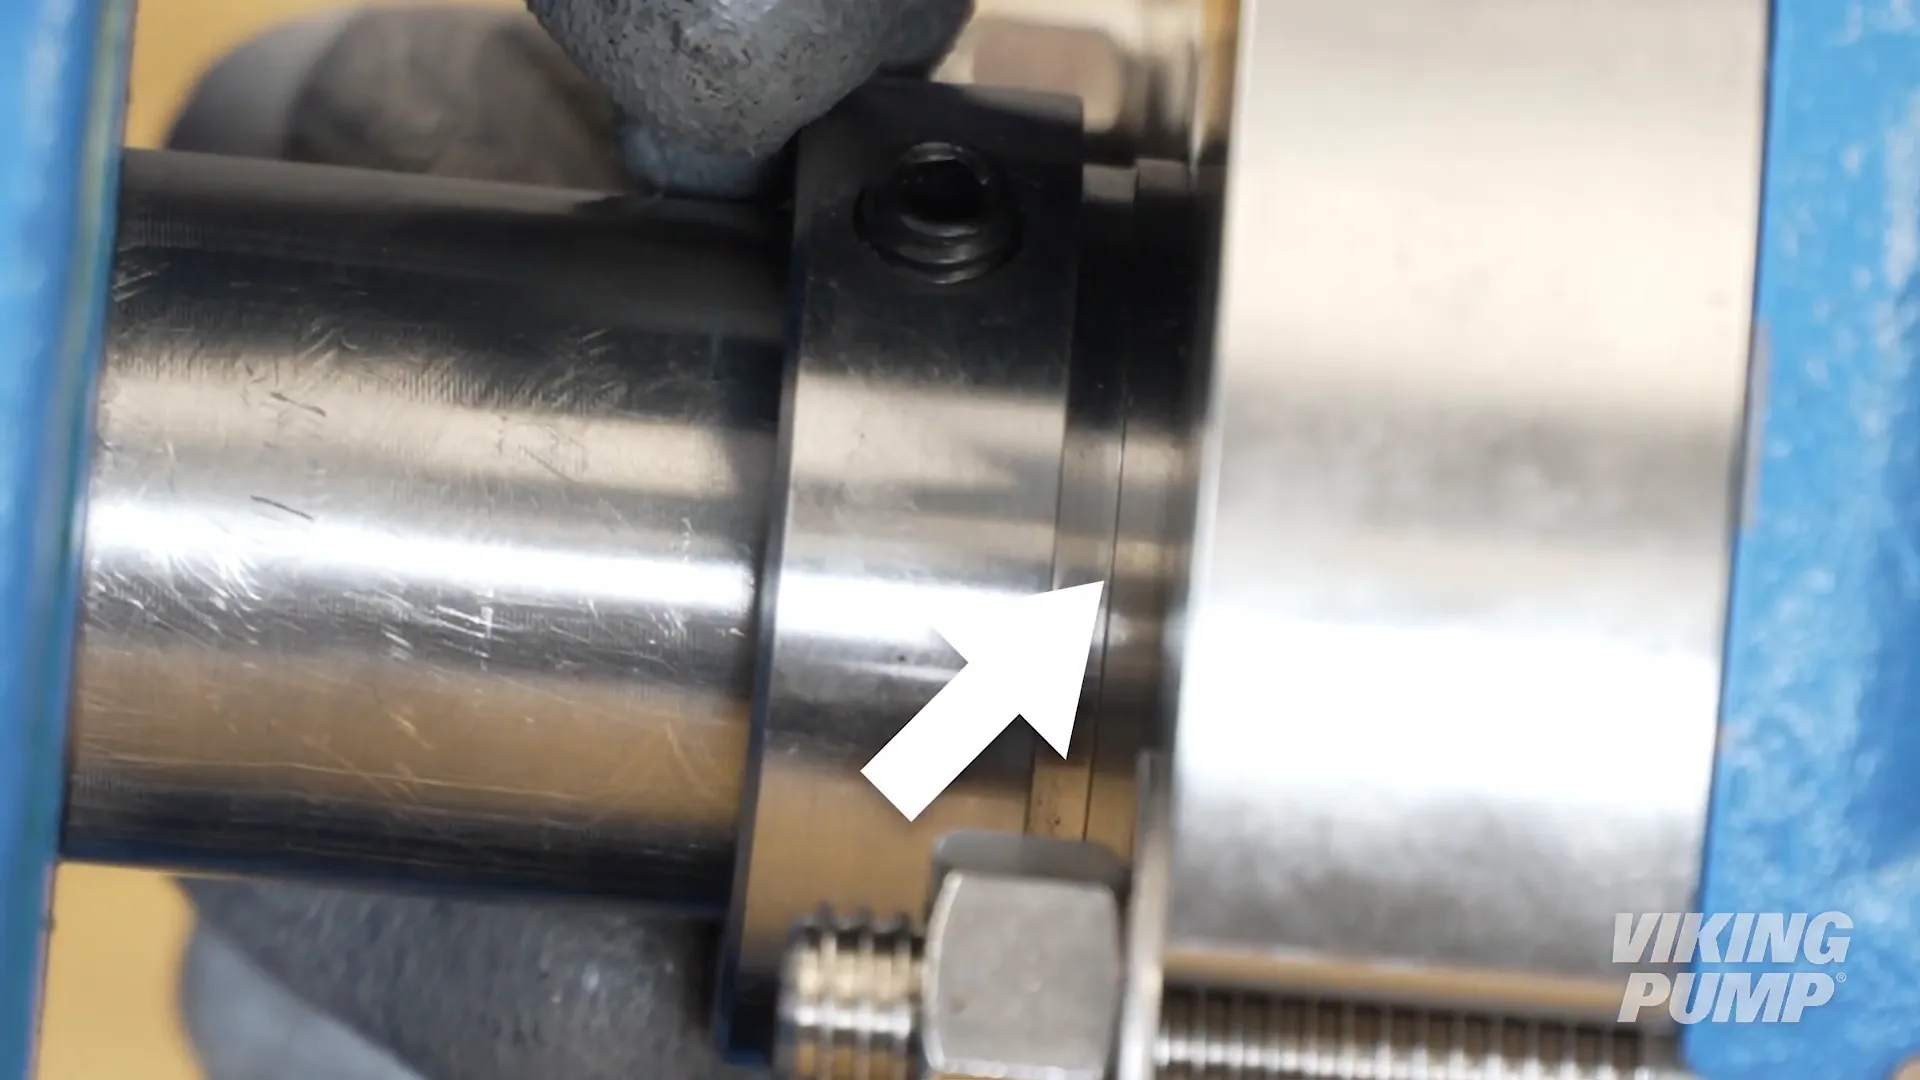
2. Tighten the three sleeve set screws evenly to ensure the sleeve is concentric with the shaft.
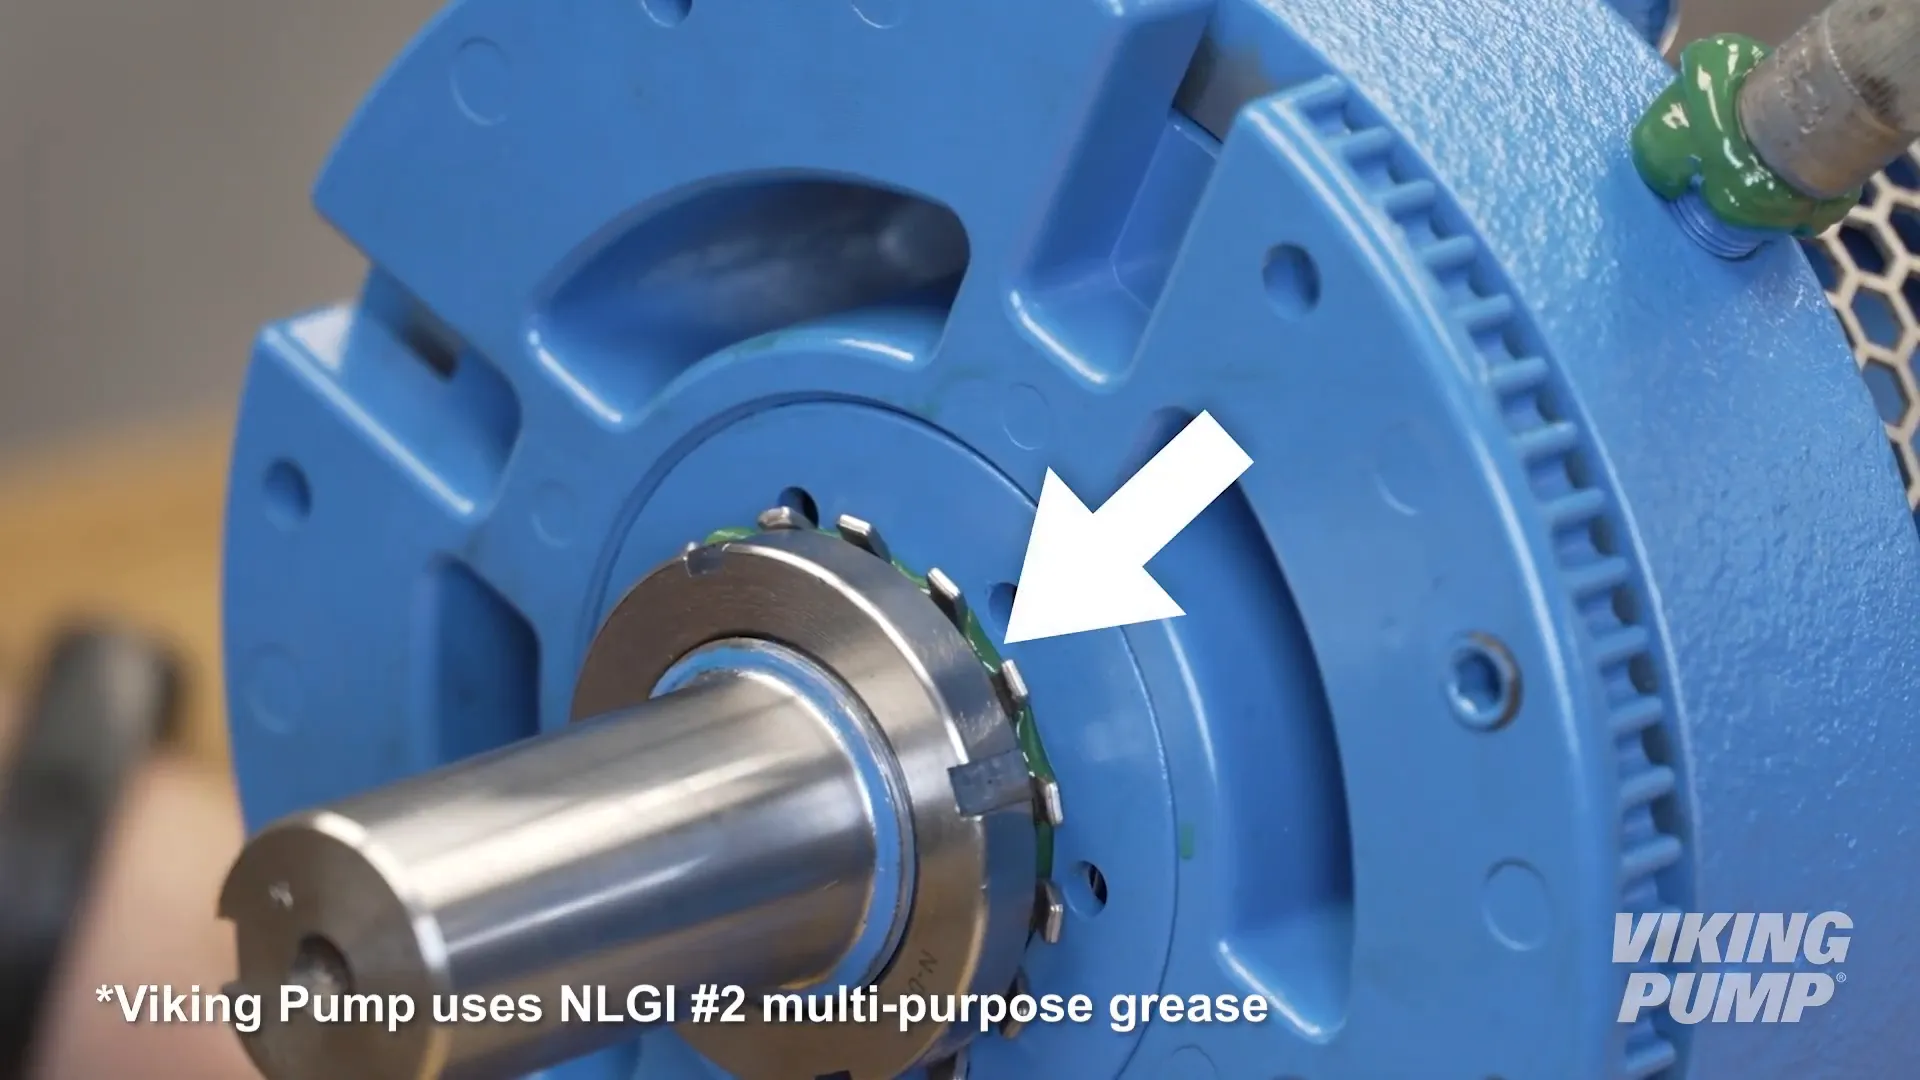
8. Greasing the Pump
- Add grease through the grease fitting while slowly turning the pump shaft until grease comes through the grease relief fitting.
- Reinstall the window guards, ensuring the retaining washer is placed between the guard and bracket faces.
- Grease the bearing housing until grease begins to appear around the lock washer.
And Finally...
Congratulations! Your pump with an O-Pro® Guard seal now has new o-rings and is ready to be put back into service. Regular maintenance like this is essential for the longevity and efficiency of your gear pump.
For over a century, Viking Pump has been the global leader in positive displacement pumping solutions, trusted by industries worldwide for their expertise, innovation, and reliability. With deep knowledge across a wide range of applications—from chemicals and coatings to food and fuel—Viking Pump delivers engineered solutions that keep processes flowing smoothly.